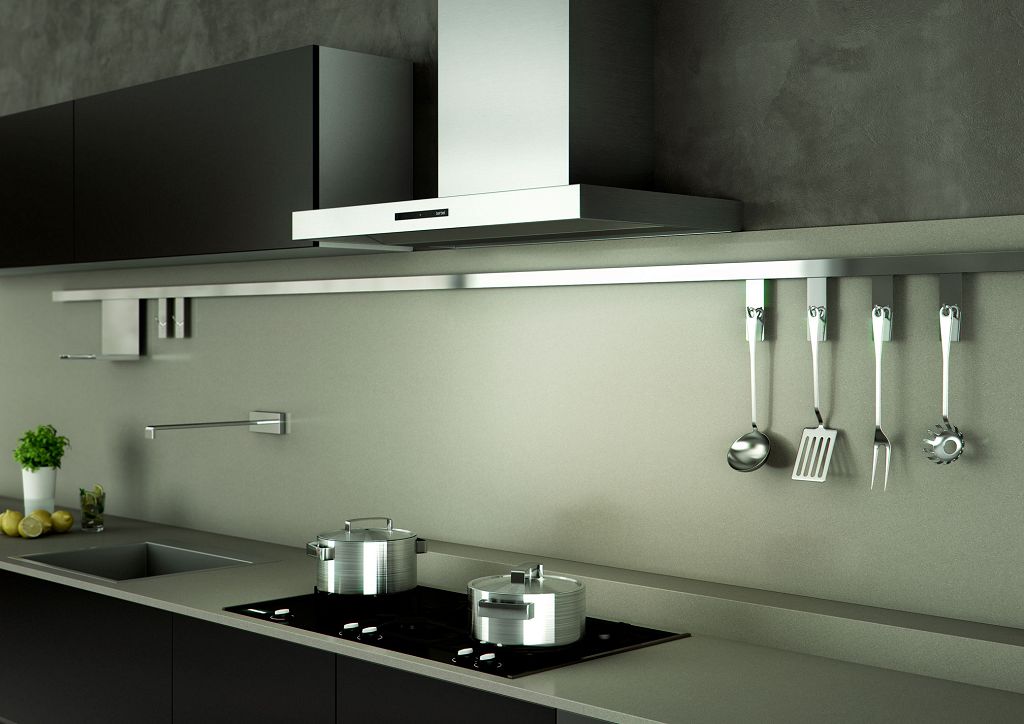
The hood in the kitchen is a type of household appliance that removes unpleasant odors there, removes combustion products, grease and other particles from the air.
Often, when carrying out repairs and redevelopment of the kitchen, the old hood is no longer suitable in size or appearance. In this case, a home-made hood can help, which everyone can do.
What you need to know before work
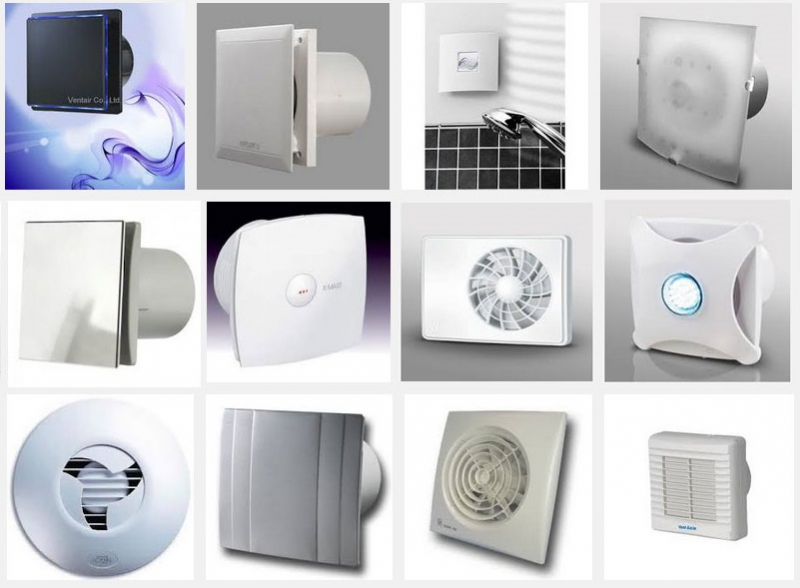
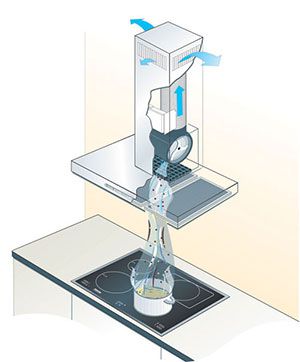
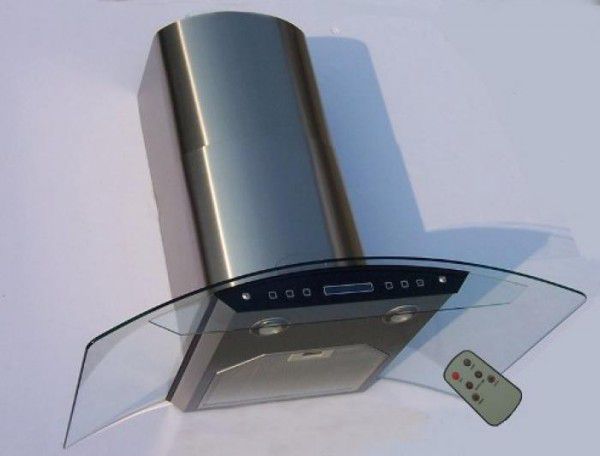
Before you start developing a homemade kitchen hood, you need to understand exactly how such a device functions, look at photos of finished models on the network in order to choose the best option for yourself.
Not everyone knows that there are such types of devices that not only extract the exhaust air, but process it with special filters, releasing it back in a purified form. Some models simply remove the air mixture from the kitchen through the ventilation system to which they are connected.
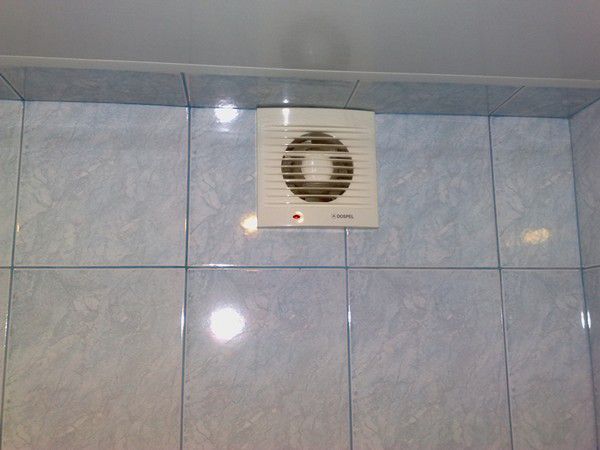
Therefore, the first thing to do before developing your own hoods is to make sure that the ventilation system in the house is working properly.
If the ventilation is dirty, the traction force will be reduced or even absent altogether. As a result, the cooker hood will not be able to perform its functions. Therefore, before starting all work, it is important to clean the system for removing the air mixture from the kitchen.
When high-tightness plastic window structures are used in the kitchen, special ventilation valves should be installed on them, otherwise the operation of the hood will be of low efficiency.
A do-it-yourself cooker hood can be one of two varieties:
- active;
- passive.
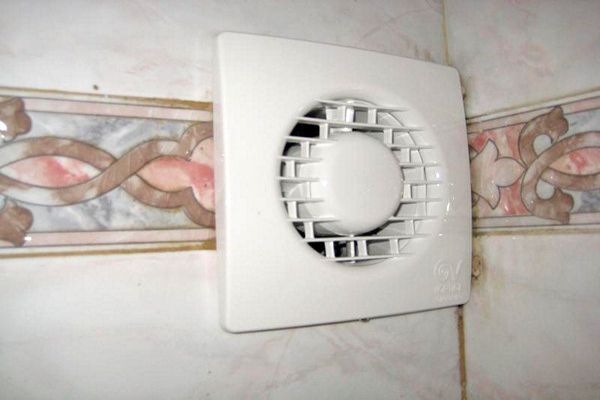
Passive models remove the air mixture from the room only due to the upward draft, since they do not have any fans or electric motors. As a result, a self-made hood of this type can only work if the ventilation is in excellent condition.
Active hoods function thanks to the installed electric motor. Such models are highly efficient, but consume a lot of electricity.
Required materials and tools used
The next stage of the process, the result of which will be a do-it-yourself kitchen hood is the preparation or purchase of all the required tools along with the materials. Among them:
- sheets of drywall, characterized by increased resistance to moisture;
- profiles with a galvanized surface;
- perforated corner;
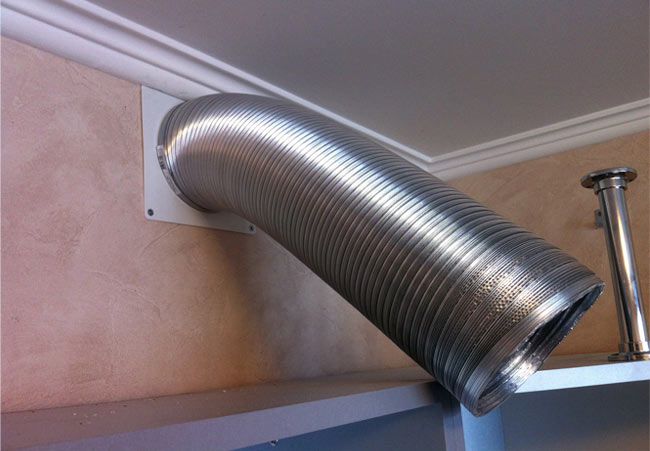
- corrugated pipe;
- fasteners;
- insulating material for corrugation;
- paint and putty, putty knife and brushes;
- puncher and screwdriver;
- overlays for corners.
Sequence of work
After preparing all the required materials along with the tools, you can begin to perform the necessary work. Their first stage is marking the future device and its duct on the walls of the room. The easiest option would be when the ventilation hole is located directly above the hob. If it is somewhere on the sidelines, it is also necessary to develop a box for decorating the corrugation.
In the case of finishing the kitchen ceiling with plasterboard, the air duct can be partially decorated with it.
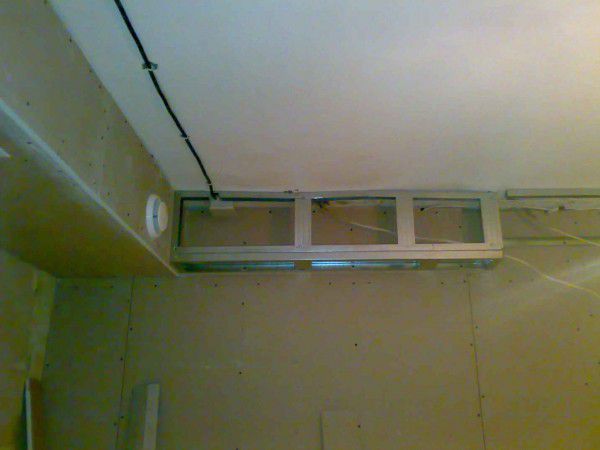
The next step is to make a frame to accommodate the duct using galvanized metal profiles.They are mounted where the air duct will pass in the future, using an anchor. If the pipe is not straight, the profile will need to be installed with bends in the required places. The initial profile - starting - is installed down in several parts, securing them with self-tapping screws.
The next stage is the completion of the arrangement of the drywall box. For this, a second panel is installed on the finished parts. Upon completion of the development of the lower part, transverse strips are installed on top of it, later they will be sheathed with sheets of drywall.
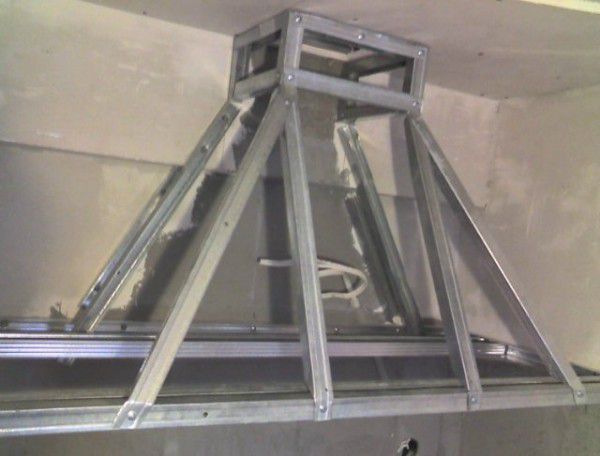
At the fourth stage, you need to make the body of the future hood. Above the plate, the lower part of the exhaust device made of a profile is installed on the wall. In this case, the task will be significantly facilitated when the presence of a niche is provided for the device. If it is not there, then the lower side of the hood to the box must also be attached from the sides. The main components of the hood are made from a profile, attaching them to the bottom. To give the structure more rigidity, it can be reinforced with jumpers, which are also made from a profile.
Next is the connection to the ventilation system of the made duct. In this case, a corrugated pipe is used.
So that there is no unnecessary noise during the operation of the hood, the pipe must be wrapped with high-quality sound-insulating material.
The last stage is finishing the device. To do this, the hood body and the duct box are sheathed with drywall sheets. Next, a layer of putty is applied to it, which will hide the seams between the sheets and fasteners. After that, it remains only to paint the hood and the box, and instead, you can decorate them.
This type of design is suitable for both passive and active exhaust devices. In the second case, an electric motor must also be installed inside the device case, connected to a grounded outlet. It will create a strong draft that will quickly remove exhaust air from the kitchen.
Features of the development of the frame
To make the appearance of the finished device attractive, you will need to perform such work.
Assemble the main body of the device by installing a grate on its lower part and, if necessary, an electric motor. If at the initial stages of work the structure does not look very attractive, do not worry - the sheathing will qualitatively hide any irregularities.
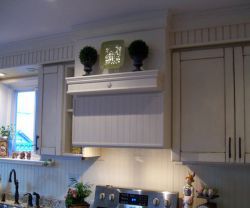
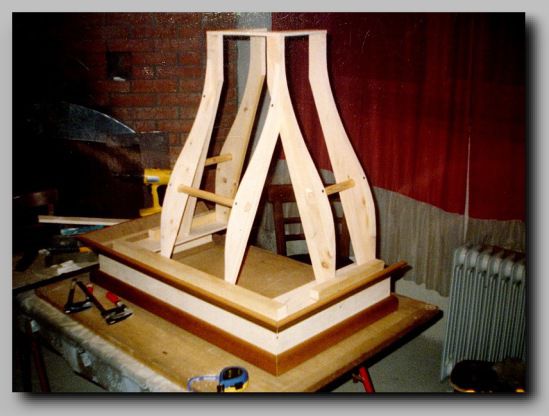
Next, a frame is attached to the base, everyone chooses its shape independently, depending on their own preferences. The main thing is that an air duct pipe must be placed inside. In this case, you can view ready-made ideas in a photo from the network or do everything yourself.
Finishing parts are cut from the selected material, with which the frame is glued. After the glue dries, the surface of the material is sanded, a layer of putty is applied to it. After it dries, it remains only to paint the finished cooker hood, made by hand, in the desired color.
Having done everything right, you will make with your own hands a high-quality and functional hood, which will not only cope with its duties wonderfully, but also have an attractive appearance.
Thus, the process of developing a hood with your own hands does not imply anything complicated, so everyone can do it on their own. As a result, a functional exhaust device will be obtained, which will have a completely original appearance.