An increased level of moisture in the bathroom is a natural state when a hood is not installed in the room. As a result, this leads to dampness, creates favorable conditions for the reproduction of microorganisms and negatively affects the finishing materials. To solve the problem, it is enough to use an exhaust fan. The device is designed for indoor air exchange. The main types of hoods, important parameters and how to choose the right device are described below.
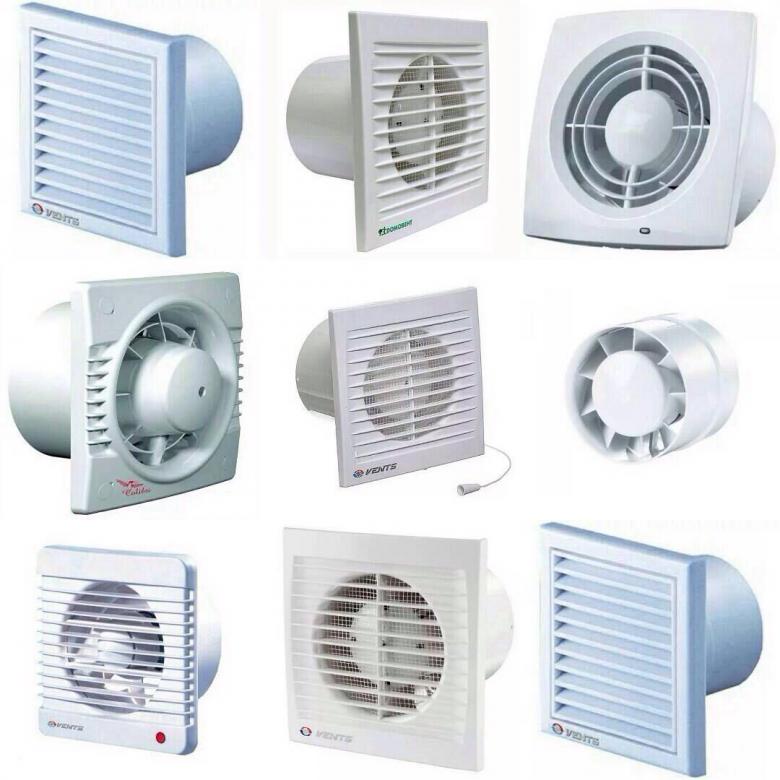
Varieties of hoods
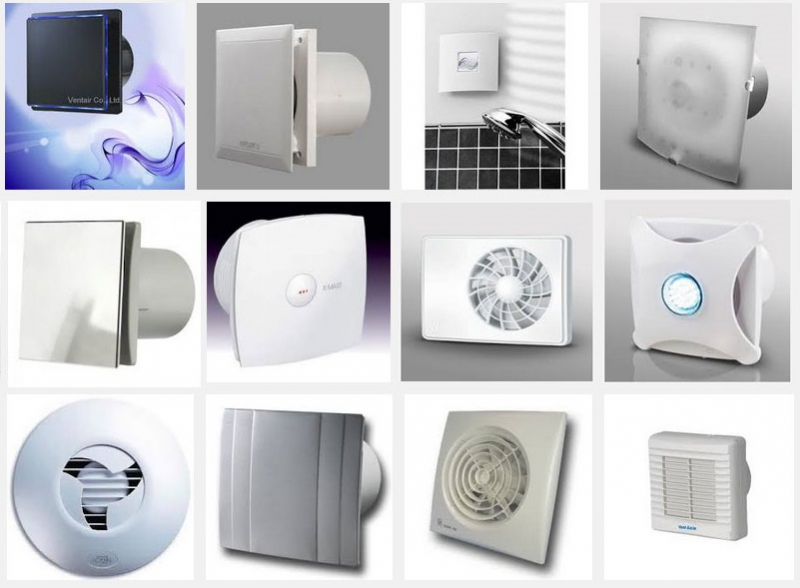
- axial;
- centrifugal.
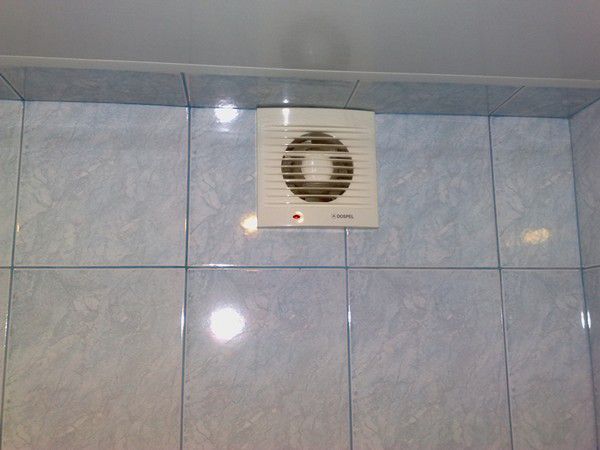
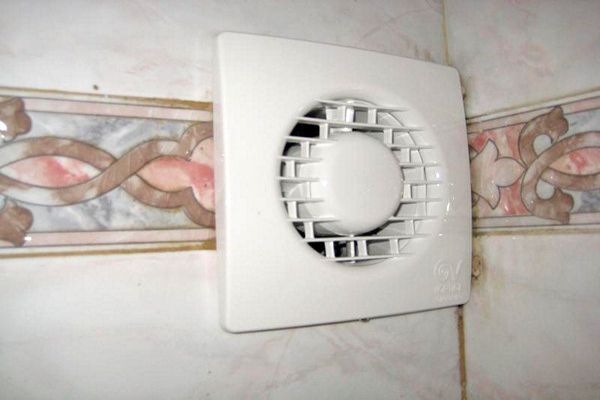
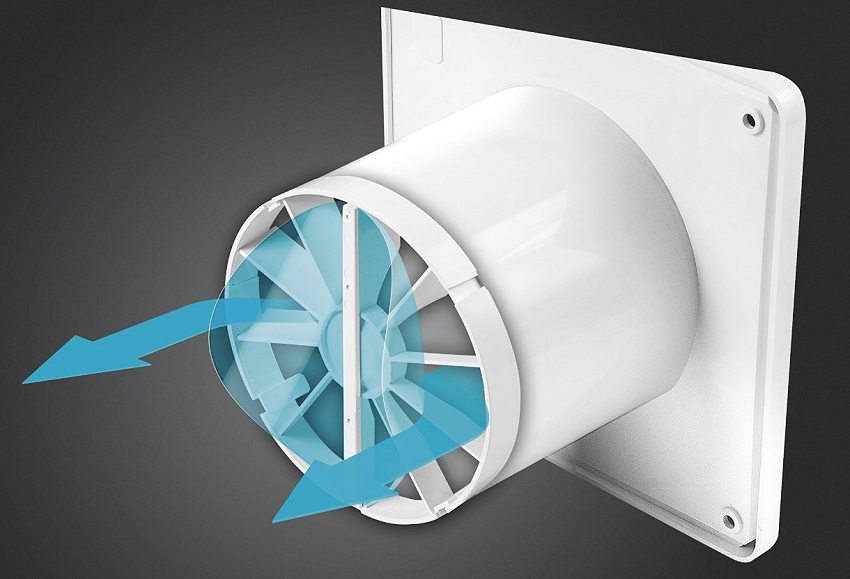
Axial fans - vane impeller in a housing with a motor that drives it. When rotating, the blades inclined inward suck in air and move it along the axis. Such devices are most popular for bathrooms in apartments. The devices are distinguished by their design, affordable price and ease of installation. They are installed on a wall in a ventilation shaft. Axial-type models are characterized by high efficiency and productivity. Hoods are made both up to 100 cubic meters per hour and with higher power. The higher the performance value, the larger the fan opening diameter. Benefits:
- high performance;
- noise level;
- the level of electricity consumption;
- compactness.
The inability to create high air pressure is distinguished from the disadvantages of the axial model.
Centrifugal (radial) fans - the structure consists of a paddle wheel located in a special casing. As the blades rotate, air enters inward, resulting in compression and throwing away by centrifugal force. The advantages are:
- improved aerodynamics;
- work in aggressive environments;
- air flow control.
Centrifugal hoods work well with high temperatures, suck out polluted air and are economical in electricity consumption. But they require an increased cross-section of the connection cable, and the noise level depends on the angle of inclination of the blades.
Check valve - a device that regulates air outlet and supply. It must be used in cases where reverse draft is observed in the ventilation system. Food smells from neighbors, cigarette smoke, etc. should not enter the bathroom. If the hood has a check valve, air does not escape and enter the room when the device is turned off. The switched on hood opens the flaps with an air stream, due to which the ventilation process takes place. The disadvantages are the lack of natural air movement when the device is turned off.
Humidity sensor - measures the level of moisture in the air and, when the critical level is reached, turns on the hood. Thanks to the sensor, you can dispense with the switch when taking a shower.
Motion Sensor - reacts to the presence of a person in the room and turns on the hood. It is especially convenient to use such devices in the toilet.
Timer - allows you to program the operating time of the hood. The advantage is the setting of the schedule and uniform ventilation of the room throughout the day.
How to choose the right option
- wall - they are mounted directly into the exhaust duct, and the structure is superimposed on the facing material;
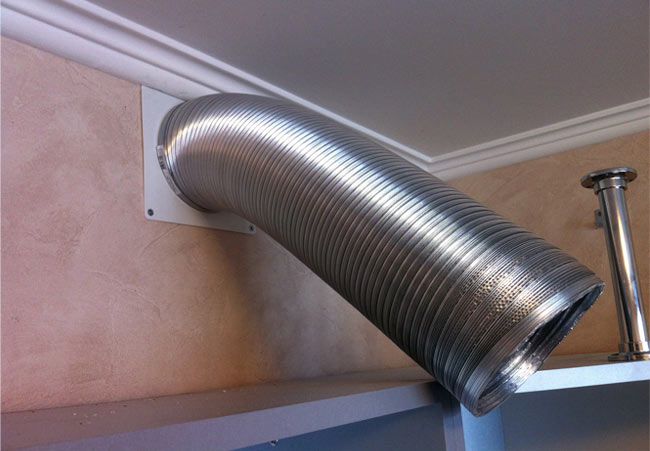
- duct - are installed directly into a metal or plastic air duct, which is hidden behind a stretch ceiling or a special structure.
The rest of the criteria depend on the size of the room and personal wishes. The design, the presence of sensors and additional functions does not affect the quality of air exchange, but only simplifies the process of interaction with the device.
Fan performance - a key parameter on which the quality of air exchange depends. According to the norms of SNiP, in household premises, the indicator should be a multiple of 0.5 m3/hour. In the toilet, an indicator of 25 m or more is allowed3/ hour, and in bathrooms - from 50 m3/hour. The calculation formula consists of the air exchange rate multiplied by the volume of the room.
For example, let's take a bathroom with an area of 4 square meters and a ceiling height of 3 meters. The total volume is calculated by multiplying 4 by 3 and is equal to 12 m3... Based on the norms, the air should be replaced 10-12 times per hour. The required capacity is 120-144 m3/hour. It should also be borne in mind that the presence of bends in the ventilation duct or a long route reduces the efficiency of the device.
Dimensions (edit) must be considered before purchasing the device. An incorrectly fitted device will not enter the prepared channel. You will have to change the fan or expand the hole. Outside dimensions exclusively affect the design of the room. The main thing is the diameter of the hole and its depth. As a rule, manufacturers offer air ducts in sizes 100, 120 and 150 mm.
Noise is one of the fundamental parameters that affects the comfort of using the bathroom. Older models and cheap fans are very noisy. The new models have a special design that dampens vibration and unpleasant sound. As a rule, the noise level of quiet devices is up to 26 dB.
Manufacturers offer the following additional features:
- motion and moisture sensors;
- on and off timers;
- indicators about the operation of the device;
- ventilation shutters and check valves;
- cord switches.
How to install correctly
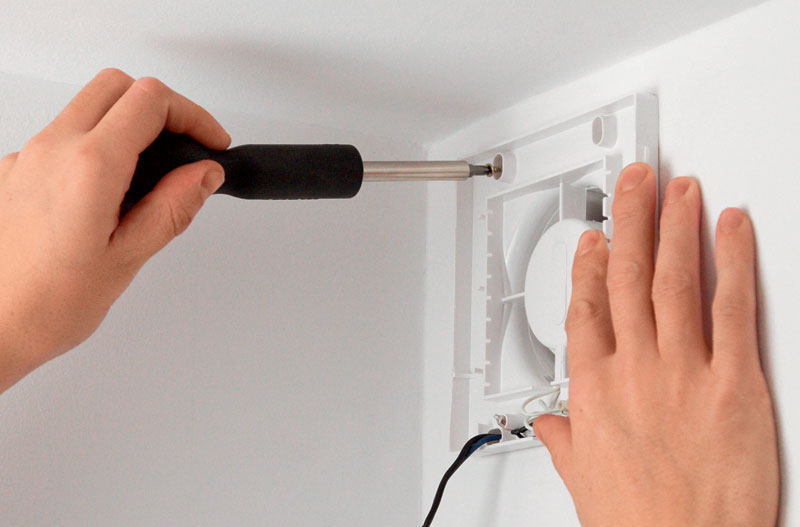
- The fan must be disassembled by removing the top panel and getting to the power connection point.
- Turn off the mains voltage and make sure it is not there. After that, connect the phase, zero and ground to the required terminals and securely clamp the contacts with a screwdriver.
- Switch on the general voltage and using the switch and check the functionality of the device. If only automatic switching is provided, open hot water and wait for the device to work.
- If everything is in order, you need to install the fan in the prepared hole. It is enough to insert it inside and fix it in the prescribed way. Most household hoods are fixed to the wall with dowels. When it is not possible to drill holes, special silicone is used for firm fixation.
- After installation, the top panel of the device is put back and its performance is checked. This completes the installation process.
What problems can arise and their solution
Installing or using the hood does not always go smoothly. People face problems using a ventilator. The main situations and how to fix them are described below.
Discrepancy between the exhaust hole and the dimensions of the hood... The indicator can differ both up and down. With a smaller diameter, it is necessary to expand the ventilation duct to the desired parameter, and any aesthetic problems will be hidden by the external panel of the device.With a large hole diameter, a sealing pipe, polyurethane foam and other types of linings are used.
Doesn't work after connecting power... All devices are tested in production, so the defect rate is minimal. The most common cause is improper wiring. The phase can be determined using a special screwdriver, and zero and ground can be easily distinguished by color coding.
Poor hood performance... If, after installation, the device does not provide the required air exhaust, the problem is a clogged ventilation duct. Check the mine for cleanliness and debris. For greater ventilation efficiency, it is recommended to choose doors with slots or leave an air gap between the floor and the door.