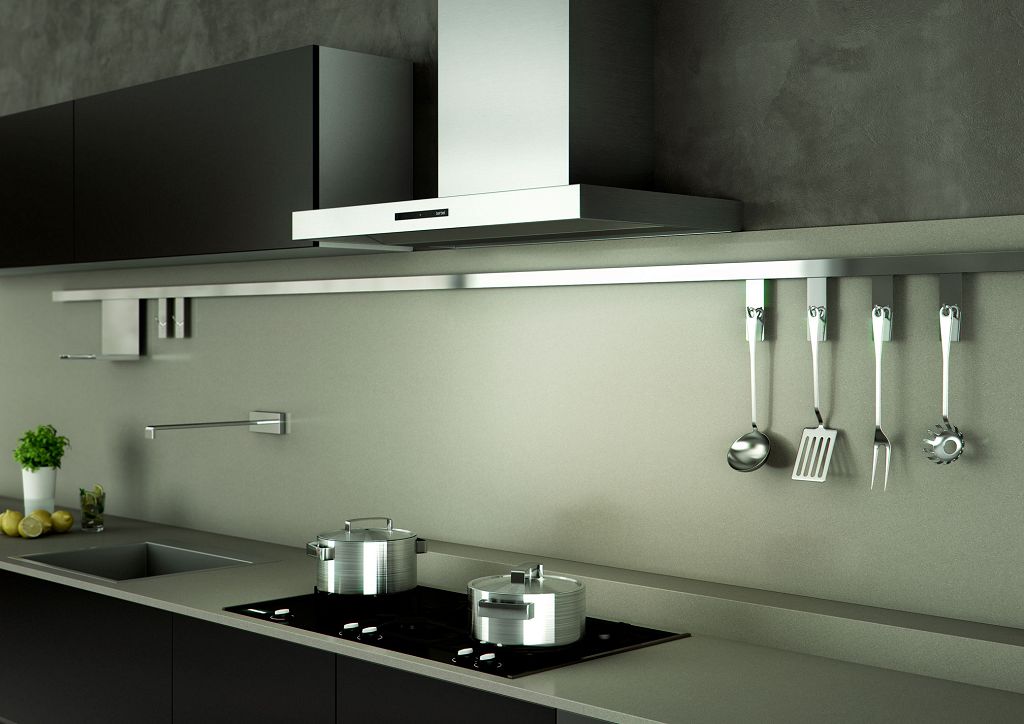
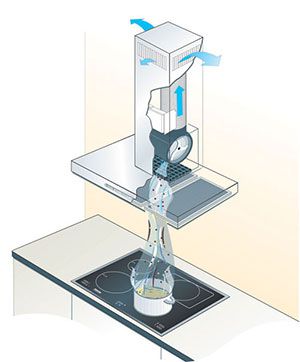
Modern built-in appliances are an ideal solution for those who want to simultaneously preserve the look of the interior and get additional functionality and convenience. A very popular category of such appliances includes built-in kitchen hoods, which are mounted directly in a cabinet located above a gas or electric stove. To install such a device correctly, in some cases it will take a lot of qualified work. In other cases, installation is relatively straightforward.
Dimensions and related issues
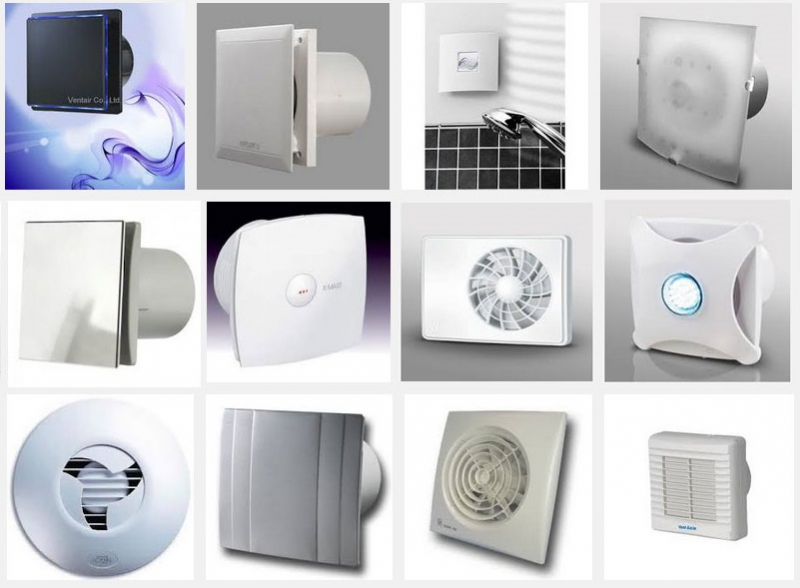
The modern market offers many options for a built-in kitchen hood, of different widths and depths (the area occupied along the surface of the bottom of the cabinet). Depending on the existing furniture, several situations may arise:
- the dimensions of the built-in hood are wider in width than the dimensions of the cabinet. In this case, the help of qualified furniture makers will be required to modify the walls of neighboring cabinets, to preserve the mechanics of door movement;
- the dimensions of the built-in hood are smaller than the dimensions of the cabinet. In this case, you can do the installation yourself if you choose the right type of electrical appliance.
Another subtlety of choosing a built-in hood is the shape of its body. All modern models have a rectangular configuration, so they are relatively easy to mount in a cabinet.
Older versions may have a significant protrusion in the duct area or even a rigid duct that is planned to be placed against a wall. However, the installation of all models can be done subject to certain rules.
What tools and materials will be needed for installation
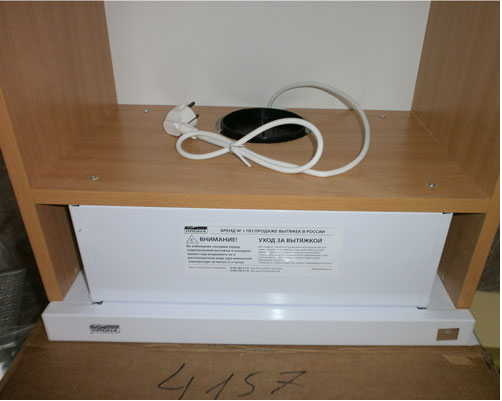
Consider an almost ideal option when the hood is installed in a cabinet, the distance between the walls of which is greater than or equal to the landing dimension of the built-in appliances, which are designed to be attached to the internal shelf. In this case, to carry out the work you will need:
- the marking tool is a pencil, however, the practice of working with chipboard shows that a 0.5 mm marker is better;
- tape measure and carpentry corner;
- drill for wood with a diameter of 10 mm;
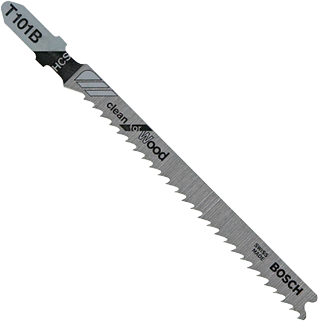
- jigsaw and wood saw of the CleanWood type with teeth sweeping into the blade;
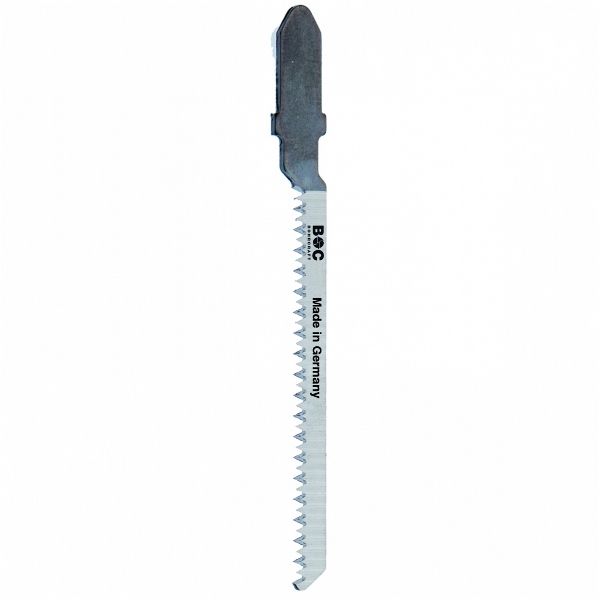
- in the case of a round air duct, a jigsaw saw, specially designed for curved cuts, with a straight tooth and a small blade width, will not be superfluous;
- screwdriver and works bits for working with confirmations;
- four plastic single corners;
- awl;
- screws, standard size 3.5 × 16, chipboard, white;
- any waterproof polymer glue (dragon, primus, kontaktol).
The design of a cabinet with hinged doors will be considered.
It should be noted right away that the installation of a built-in hood in a cabinet with hinged doors may require the transfer of hinges. Such work can be done independently, however, the article will not give advice on how to carry out this stage, since the type of hinge, the size of the landing recesses, as well as the specific distances at which the hardware legs are installed, may depend on the door design.
Stages of work
To install a built-in hood in a cabinet, you will need:
- remove the entire lower surface or cut a hole in it of the required geometric dimensions, where the electrical appliance will be installed;
- dismantle the middle shelf and drill holes for the factory inside the electrical connection cable;
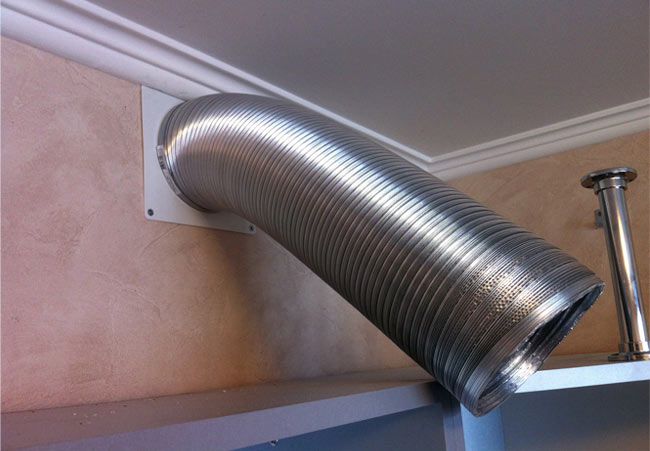
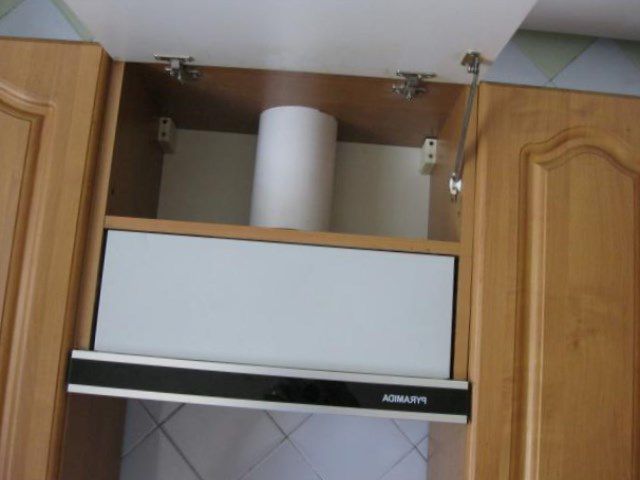
- cut the necessary holes in the chipboard parts for the passage of the air duct, mark the fastening of the built-in hood;
- fix all the elements in the cabinet: built-in hood, shelf, doors.
We will consider all operations sequentially.
Working with the bottom surface of the cabinet
To remove the part, it is enough to unscrew the side confirmations. You will first need to embroider the back wall, which is attached to the chipboard part. This is usually done with staples, however, handicrafts can use nails or screws. After the rear wall has been joined, the side fasteners are removed and the bottom part of the cabinet is removed, which is not held back by anything.
If you need to cut a hole of the desired size, which does not take up the entire area of the bottom of the cabinet, you should follow several requirements:
- cut the hole so that the built-in hood body fits flush with the front wall of the cabinet, not the back. This will allow you not to disassemble the structure;
- the dimension of the cut-out part is marked with a marker and a carpenter's corner;
- holes with a diameter of 10 mm are drilled so that their centers are clearly in the corners.
After that, the hole is cut. In practice, it is enough not to disassemble the cabinet, just remove it from the wall, dismantle the doors (for further convenience of working with the shelf), turn it over and do all the work on the floor. The following video demonstrates the process of work.
A little trick. A jigsaw with a coarse-toothed saw for wood and laminated chipboard is an ungrateful combination. When a saw with a straight tooth direction is used (bevel up, undermine the material from the bottom, cut when the saw moves up), chips are formed on the upper side of the plate, on the side of the cutting line. This is a great place for moisture to enter and chipboard destruction. You can do it in three ways. In the first case, the end surface and chipped zones are coated with waterproof glue. Surface defects will be hidden if the built-in hood design has a side. In the second case, you can take a saw with a reverse tooth (the cut is made when the cutting tool moves down). In this version, the chips will be inside the cabinet. However, the best way is to go deeper into the material along the cutting line with a strong knife to a depth of 2-3 mm. Then, by carefully driving the saw with a straight tooth close to the formed line, you can avoid the appearance of chips. In this case, the cutting tool should be located on the side of the part to be removed.
Removing the middle shelf
Depending on how the installation is performed, to remove the middle shelf, it may be enough to simply remove it from the supports, or unscrew the side confirmations. In the most neglected cases, when it comes to handicrafts, it may be necessary to embroider the back wall, which "home-grown" craftsmen "for guarantee" nailed to the middle shelf with staples or nails.
After dismantling the middle shelf, holes are drilled for the passage of the cable. For this, a wood drill with a diameter of 10 mm is used. The option with a hole is much neater and more attractive than cutting a recess along the back of the shelf, since it allows you to better protect the cable passage area from moisture with the help of pads.
Cutting the holes for the duct passage
The middle shelf and the top shelf must be modified to accommodate duct installation. Air holes are made by the following method:
- a rectangle or circle is marked, depending on the type of duct;
- if a rectangular passage is required, holes are drilled in each of the corners according to the rules described above to remove part of the bottom shelf of the cabinet;
- for a circular duct area, one 10 mm hole is enough for the saw to enter.
The holes are cut with a jigsaw following one of the tricks described above. After that, the end of the chipboard in the place of the cut is carefully coated with polymer glue to protect it from moisture penetration.
The next step is to mark the fastening of the built-in hood. In the simplest case, the removed middle shelf with an already cut hole for the air duct is applied to the body, after which, with the help of an awl, pricks are made in the place of the future location of the self-tapping screws.
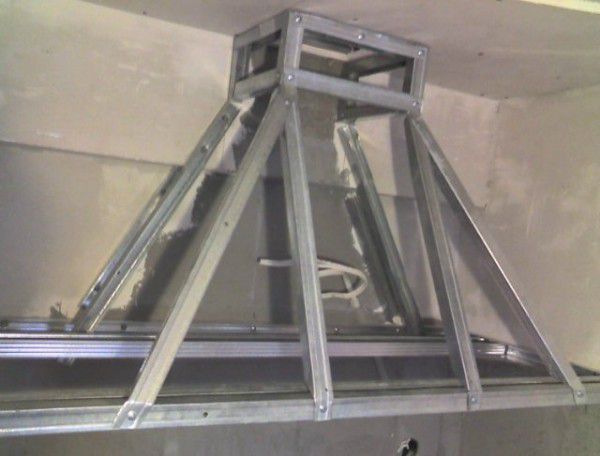
Installation of all elements in the cabinet
Installing a built-in hood in a cabinet always means moving the middle shelf. Single plastic corners are required to position it where needed. Working with such fasteners is simple and accessible even for beginners. To minimize placement errors, follow a simple technique:
- the corners are screwed first to the shelf, all four;
- the shelf is installed in place, it is convenient to do this by laying the cabinet flat with its back wall on the floor;
- with the help of an awl, a place for self-tapping screws is punctured on the side wall;
- corners are fixed with zero shelf offset.
After that, you can mount the hood using self-tapping screws, which are screwed into pre-punched grooves. The following video demonstrates the process of work.
Completion of work
The last stage is the final assembly of the cabinet and the installation of the doors. In practice, most often the structure, where the cabinet body is assembled together, the middle shelf with a built-in hood, is hung in its regular place. After that, the air duct is mounted, and in the very last step, the doors are hung.