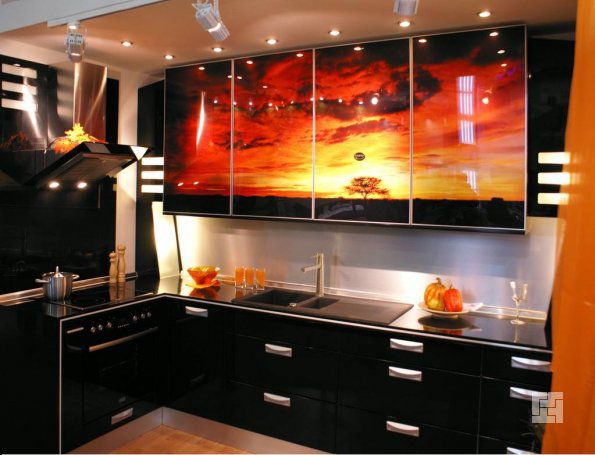
Cooking is a daily process. It does not do without characteristic odors, which some people think are pleasant, creating home comfort, but for others they become a source of discomfort. In order to avoid troubles and keep a good mood, it is recommended to install a cooker hood. It is not difficult to connect it to the ventilation with your own hands. The device will help get rid of such everyday problems as:
- Smells;
- The appearance of soot on the ceiling and furniture;
- The negative effect of smoke and water vapor on interior items and kitchen decoration.
It is important to remember that water particles contained in vapors can cause furniture breakdown, and soot and fumes will spoil the appearance of the room, so connecting the hood will be the best solution and will significantly delay the repair in the kitchen.
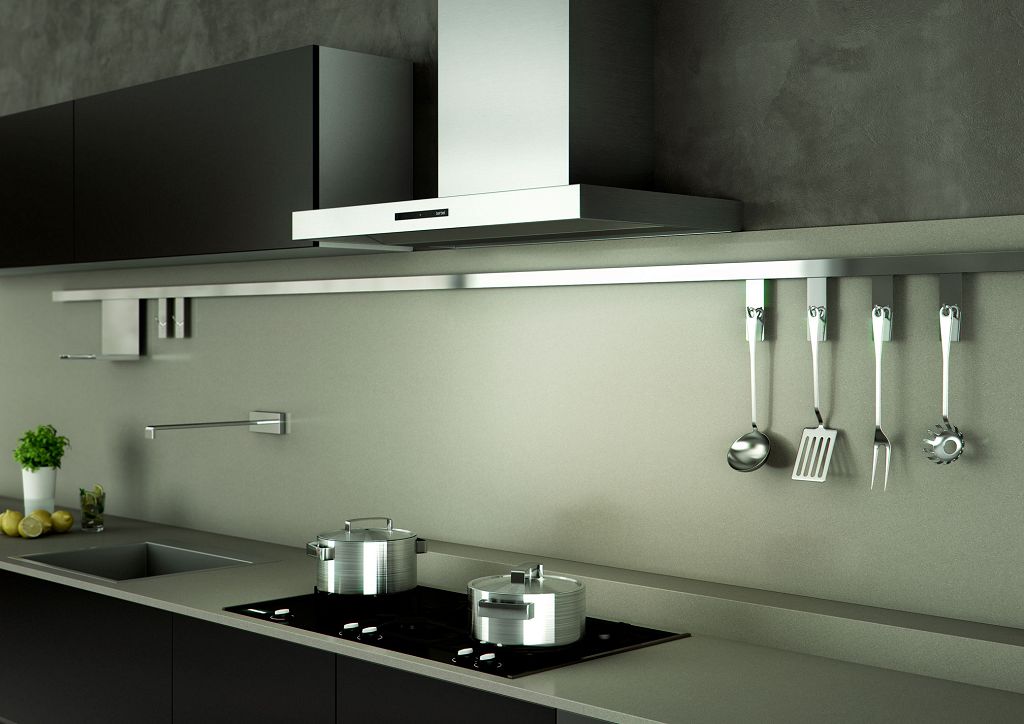
Cooker hood: variety of modifications
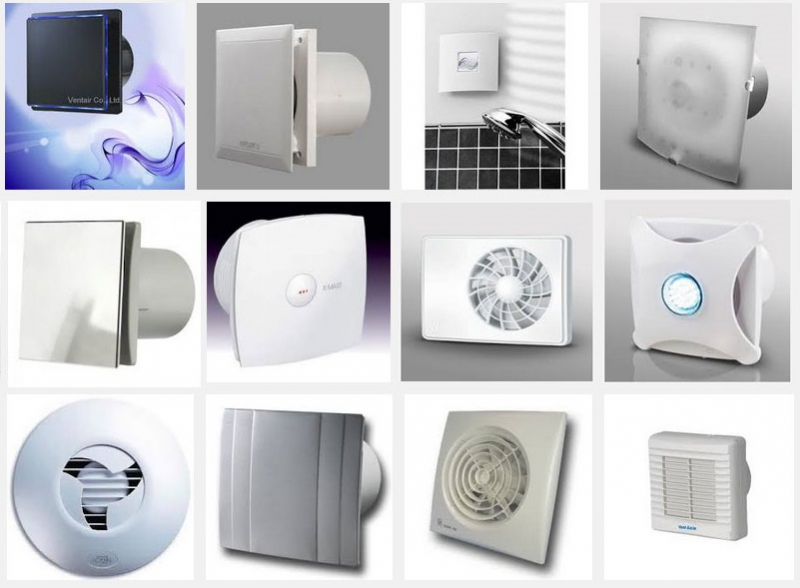
In order to connect the hood correctly and not call the masters, you will need to show attention to detail. The first thing you need to know is that modern designs for removing unpleasant odors from the room are different in size, size and design. That is why, when answering the question of how to connect the hood in the kitchen with your own hand to the existing ventilation, you will need to remember that the structure can have a different shape.
Before making a purchase, you will need to decide what is needed for a particular kitchen - aesthetics or providing clean, odorless air. That is why it is important to pay special attention to the following parameters that are significant for a person who values quality:
- dimensions;
- power;
- device type.
The dimensions must necessarily match the dimensions of the installed plate. The power of the hood is selected based on the intensity of using the kitchen for its intended purpose - if they cook a lot and often, then the power should be high. It is not difficult to calculate it: the volume of the kitchen room should be multiplied by 12.
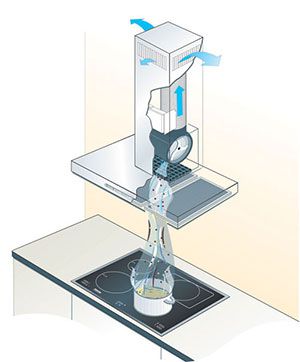
There are two types of air circulation:
- recirculating;
- with output outside the premises.
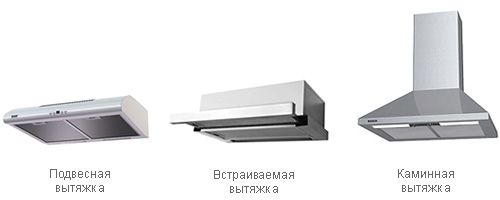
According to the method of installation in the kitchen, the hoods available for sale or those ordered specially also differ. They are:
- built-in;
- domed;
- flat.
Modern kitchen hoods are also of a combined type, that is, they can work both in the classical device mode and in the filtration mode.
Hood selection rules
The selection of a hood model should be based on what additional functions and capabilities a person wants to receive in the process of use. Opportunities may include:
- lighting of the cooking area (built-in bulbs);
- indicator showing when it is necessary to replace the filter;
- automatic on / off.
Connecting to electricity will allow you to use the timer to save resources and money - just set the time interval, and the device will automatically disconnect from the network.
Expensive modern models offer owners to control the functionality using the remote control and choose the modes in which the hood will work. It is important to remember that the kitchen must have good ventilation, otherwise the hood's capabilities will not be fully disclosed.
Hood installation rules: highlights
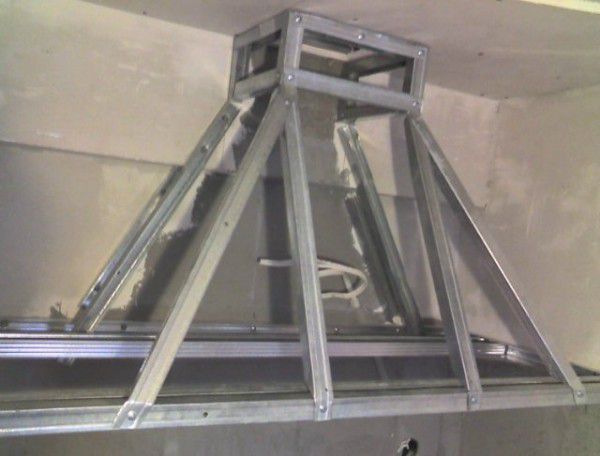
Regardless of what type or model of the device was chosen, the installation process must be carried out according to the rules, especially if it is done by hand. The installation carried out without disturbances will ensure durability and stability of work.
Installation in most cases is carried out at a height of 80 cm from the surface of the slab. You cannot choose less than 70 cm, as this will lead to a quick breakdown of the device, since the hood will overheat greatly, the ventilation will not be able to provide sufficient cooling. The width may slightly exceed the dimensions of the plate, but it should not be smaller - the expected effect of using the hood will not come.
It is difficult to make a connection that completely removes odors, soot and steam through a kitchen ventilation system with your own hands, but with attention and accuracy, you can achieve what you want.
It is important to remember that the device will need not only to be installed, but also to be connected to the existing ventilation.
If the stove or hob is located far from it, but at the same time close to the window, then it is possible to equip the outlet of air saturated with odors and containing particles of burning, moisture or fat to the outside through an opening in the wall. In most cases, it will need to be done on purpose. This will save time, but it will require accuracy from the person, since in case of failure it will negatively affect the appearance of the room.
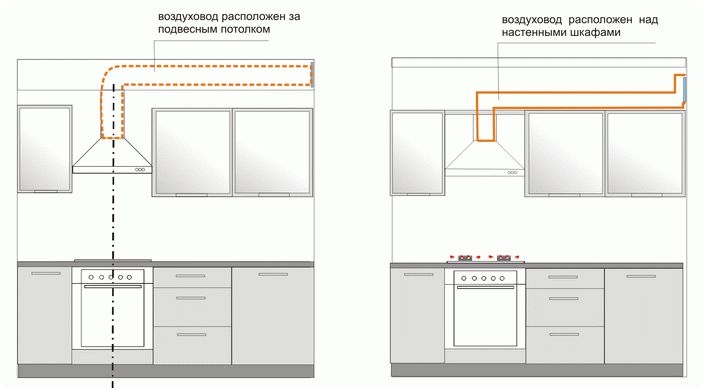
Typical installation diagram
Work in most apartments is facilitated by the fact that in order to connect all parts of the hood, ordinary clamps or adapters, as well as plastic pipes, are perfect. All that is required from the person installing the hood to the ventilation with his own hands is to tightly connect the parts to each other.
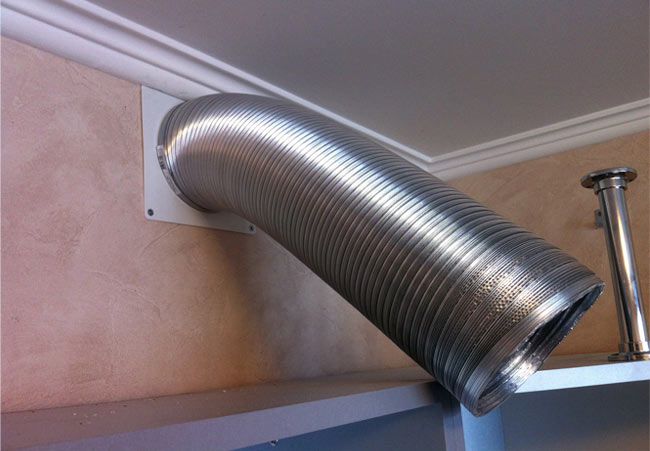
According to the scheme to be followed, the pipe coming directly from the hood should not completely cover the ventilation. She must ventilate the room in a natural way, even when the hood is not working.
The air duct leading to the kitchen ventilation from the hood must be installed in such a way as to ensure free passage of air, steam and soot. The number of its turns, as well as the length, should be small, since each bend consumes up to 10% of the device's power. Fresh air must be constantly supplied to the kitchen area, therefore regular ventilation is necessary for the hood to function properly.
Stages of connecting the hood to ventilation
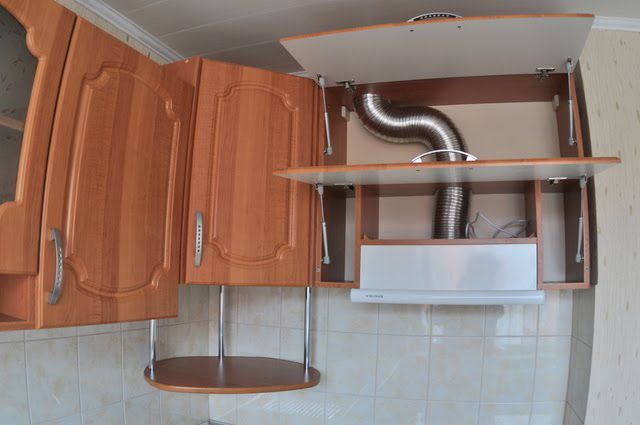
- Create holes in the kitchen cabinet above the stove. They must match the pipe diameter. This requires a jigsaw.
- The connection of the air duct is carried out by threading the pipe (corrugation) into the holes made in the roll and below in the cabinet.
- Connect the air duct to the ventilation. To do this, you need to bend the pipe where it exits the kitchen cabinet. For convenience and time saving, you can use conventional adapters or clamps used to fasten plastic pipes.
- Without exception, all joints should be treated with a sealant. It is recommended to use a silicone one, as it will help maintain the performance of the installed hood and firmly fix the plastic.
- Production of markings for fasteners. You will need to drill holes in the wall so that they line up with the mounting holes on the hood itself. Fastening is done with self-tapping screws. Then the pipe is fixed to the hood. No sealant is used here.
- The hood is connected to electricity with grounding and is used for its intended purpose.
Thus, the hood is connected to the ventilation quickly, but requires a leisurely approach to work and attention to detail. Now it is easy to answer the question of how to connect the hood and do the work yourself.