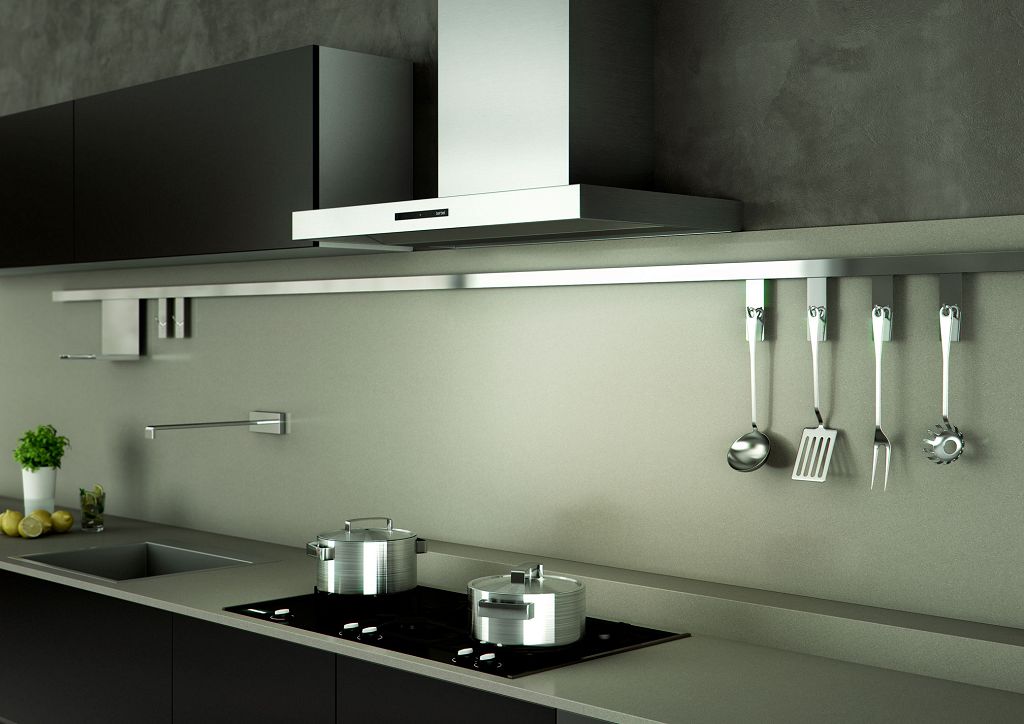
For a comfortable stay in the kitchen and cooking, it is necessary to make a hood device. It will purify the air and remove fat while cooking. Today, kitchen hoods are presented in a huge assortment, and their installation is possible with your own hands. The main thing is to do all the work correctly, in this case the system will work at the highest level for a long time.
- Classification of cooker hoods according to the principle of operation
- Highlights of the hood device in the kitchen
- Inventory that will be required when doing the work
- Phased execution of work
- Fastening the hood above the stove
- Further work on installing the hood
- Electrical connection
- Features of installing a built-in hood hood
- Extraction capacity
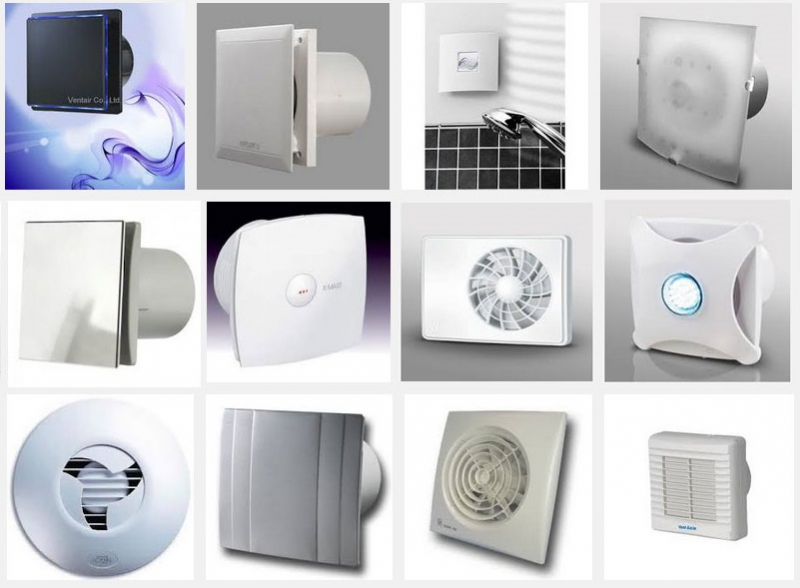
Classification of cooker hoods according to the principle of operation
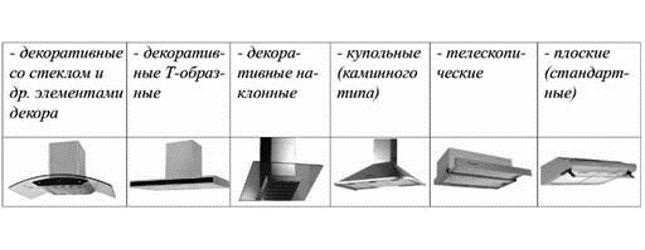
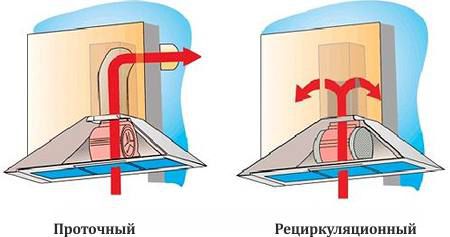
The hoods that can be purchased today are divided into two large groups according to the principle of operation:
- branching;
- recirculating.
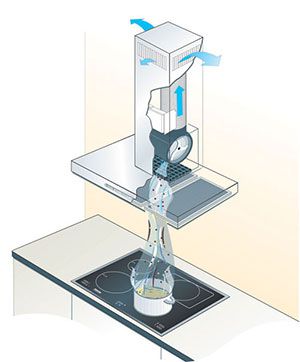
The hoods of the first group operate on the principle of exhausting the exhaust air outside the room. The performance of this option is very high. The device of such a device is possible only if there is a ventilation shaft or a special hole in the wall of a private house. In this case, it is important to have a fan in the system, which will conduct air through the channel.
When installing an extractor hood of the second type, it is not necessary to have a ventilation shaft. They absorb the exhaust air, pass it through the filter system and return it back to the room. This type is less effective, it is better to use it in small rooms. Such a hood can be hidden in furniture and will not spoil the appearance of the interior.
When choosing a device, it is necessary to take into account not only its appearance, but also its performance. Therefore, before buying, it is worthwhile to accurately calculate the area of \ u200b \ u200bthe room. In addition, when choosing, you should pay attention to the control system. The control panel can be on buttons or touch. More expensive models may have a remote control system.
An important point to pay attention to is the backlight. Its presence influences the comfort of food preparation. For modern hoods, it can be different.
Highlights of the hood device in the kitchen
The types of designs of exhaust systems have their own characteristics. This is important to consider during installation.
- Equipment that removes and recirculates air must have access to an external ventilation system. When performing the work, special attention should be paid to calculating the diameter of the duct, it should be within 12-15 cm. The narrowing of the channel is unacceptable, this can negatively affect performance. It is also worth minimizing the number of turns of the duct. For the device of the system, you can use a square or round pipe, while it is recommended to choose smooth options, rather than corrugated ones.
- Hoods that only work in recirculated air mode do not need to be connected to a ventilation shaft. They trap air, pass it through a filter system, and return it to the room. Correctly connecting a device of this type is quite simple, the main thing is to follow some recommendations.
The installation method is also influenced by what type of equipment is used: built-in or mounted.
Inventory that will be required when doing the work
Before making a hood in the kitchen, you need to prepare tools and materials.When purchasing a hood, dome or other type, the kit already contains some elements, but for installation you will need to purchase additional elements.
In order to complete all the work, you should also purchase:
- ventilation duct - it can be a pipe with a round or square section. Moreover, it can be smooth or corrugated. The choice depends on personal preferences and the characteristics of the room;
- grille for the opening of the ventilation shaft. It has a decorative function;
- special fasteners for the ventilation duct.
As for the tool, you will need a screwdriver and a hammer drill. You also need to use a Phillips screwdriver. To carry out the marking, a tape measure and a simple pencil are used. You can prepare elements of the required length using a hacksaw, depending on the material from which the channel is made. With all the necessary materials and tools at hand, all work can be done in a very short time.
Phased execution of work
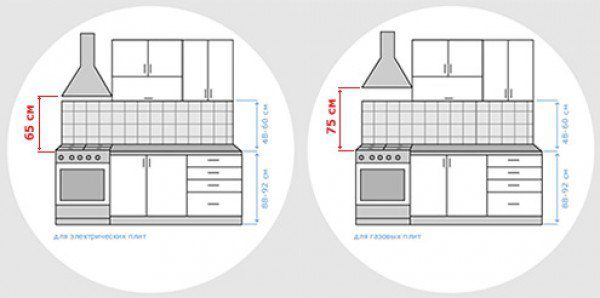
Before proceeding with the installation work, it is necessary to carry out calculations. Each type of hood should be located at a different height. Above the electric stove, the device is located at a height of 65 to 75 cm. If the stove is gas, the height of the hood must be increased to 75-85 cm. These standards must be taken into account in order to correctly implement the device of the exhaust system.
The standards are aimed at providing a comfortable cooking environment and preventing fire hazards.
Regardless of whether the hood is a dome or another, all work can be divided into three main stages:
- fixing the hood to the wall;
- connecting the device to the ventilation system;
- making a connection to the mains.
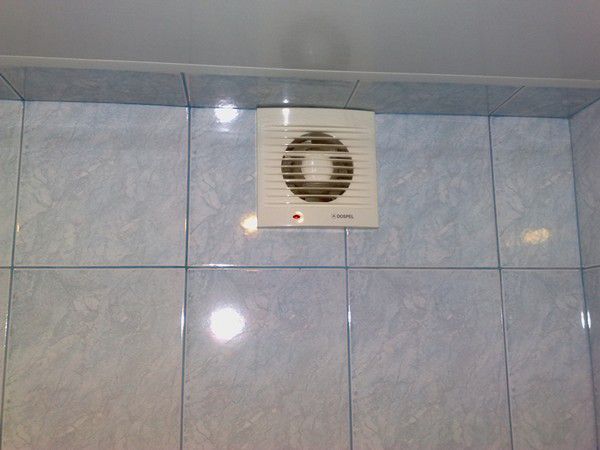
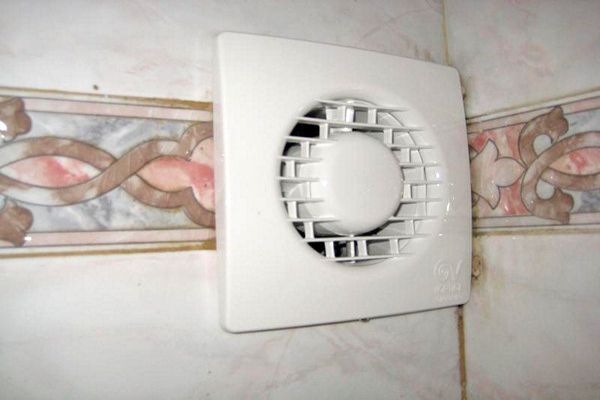
Fastening the hood above the stove
Regardless of which hood was chosen, it should be as securely attached to the wall as possible. To do this, you must use dowels of a suitable length. Fastening must be carried out at the required height. If the hood is positioned too low, the appliance can be damaged by the hot air generated by the stove. If the distance is too large, then the fumes during cooking will spread throughout the room, without reaching the hood.
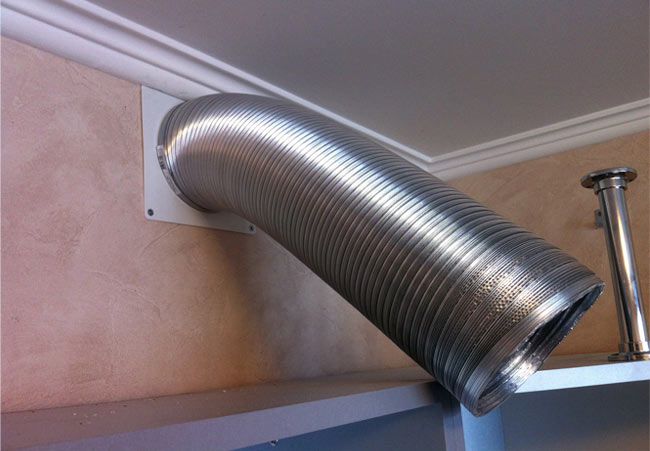
Further work on installing the hood
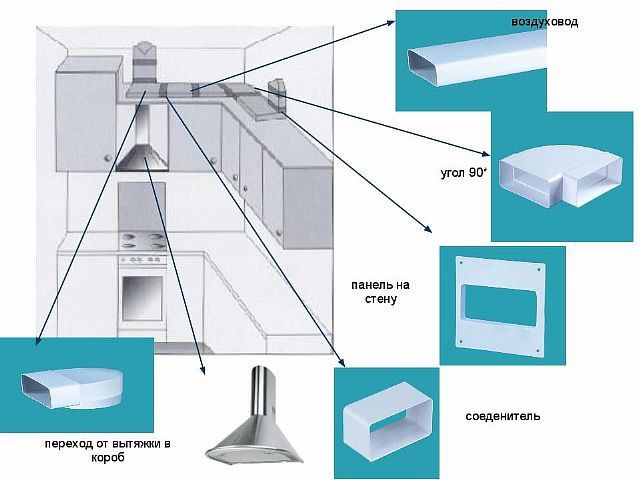
After the hood is fixed to the wall, you can proceed to further work. If the hood assumes the outlet of air to the outside, then it is worth connecting it to the ventilation shaft. In this case, special pipes must be used. They can be made from a variety of materials. Today, the most popular option is plastic products. They are very practical and attractive in appearance. Such channels can be smooth and corrugated. It is worth giving preference to flat options, since they create less noise during operation and do not obstruct the passage of air.
All joints of plastic channels must be sealed with silicone sealant.
This will prevent exhaust air from entering the room. Fasten the plastic channel to the wall using special clamps.
Electrical connection
It will be correct to make a separate outlet for connecting the hood to the kitchen. Its location should be foreseen even at the stage of repair work. This will hide all the wires in the wall, and they will not spoil the appearance of the room. If the socket was not installed initially, it can be installed later. In this case, the wire can be hidden under the kitchen set or simply closed using special plastic elements.
A separate power point allows the hood to be used regardless of how many appliances are turned on in the kitchen at the same time. When performing all the work, you should pay attention to the wires and auxiliary elements.
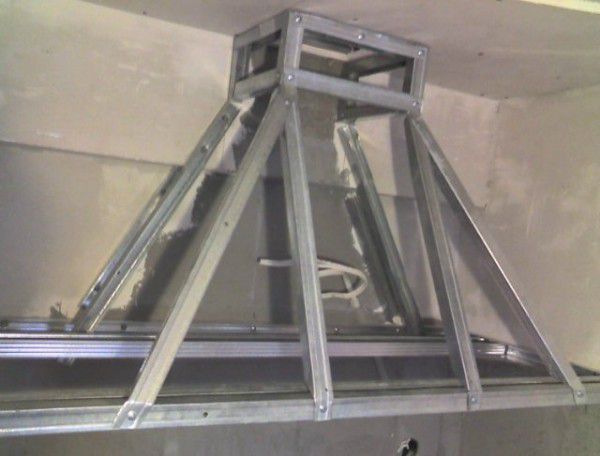
Features of installing a built-in hood hood
The installation of a built-in hood has some differences that are important to be aware of. In order to properly install such a device, you must first determine the height of its location. Unlike the hood, the dome, the built-in version is not attached to the wall, but to the kitchen furniture. In this way, the device is practically invisible and it does not violate the integrity of the appearance of the kitchen set. Thus, not only a flow-through type hood can be attached, but also recirculation options.
This method is most often used in small kitchens. Since the power of the device is much lower than that of the hood hoods. The final stage of installation is the protective cover for the air duct. Before that, it is worth checking the performance of the entire system.
Extraction capacity
In order for the efficiency of the kitchen hood to be maintained for a very long time, it is important to clean it correctly and in a timely manner. It is important to carry out a general cleaning of the entire device every six months. Today there are various products that allow you to remove the burnt and the layer of fat without much difficulty. During a general cleaning, it is recommended to disassemble the system and view all the details.
The recirculation hood must be cleaned as well. In this case, it is worth replacing all filtration systems. A dirty filter is not able to clean the air efficiently, so it is important to replace it in a timely manner.