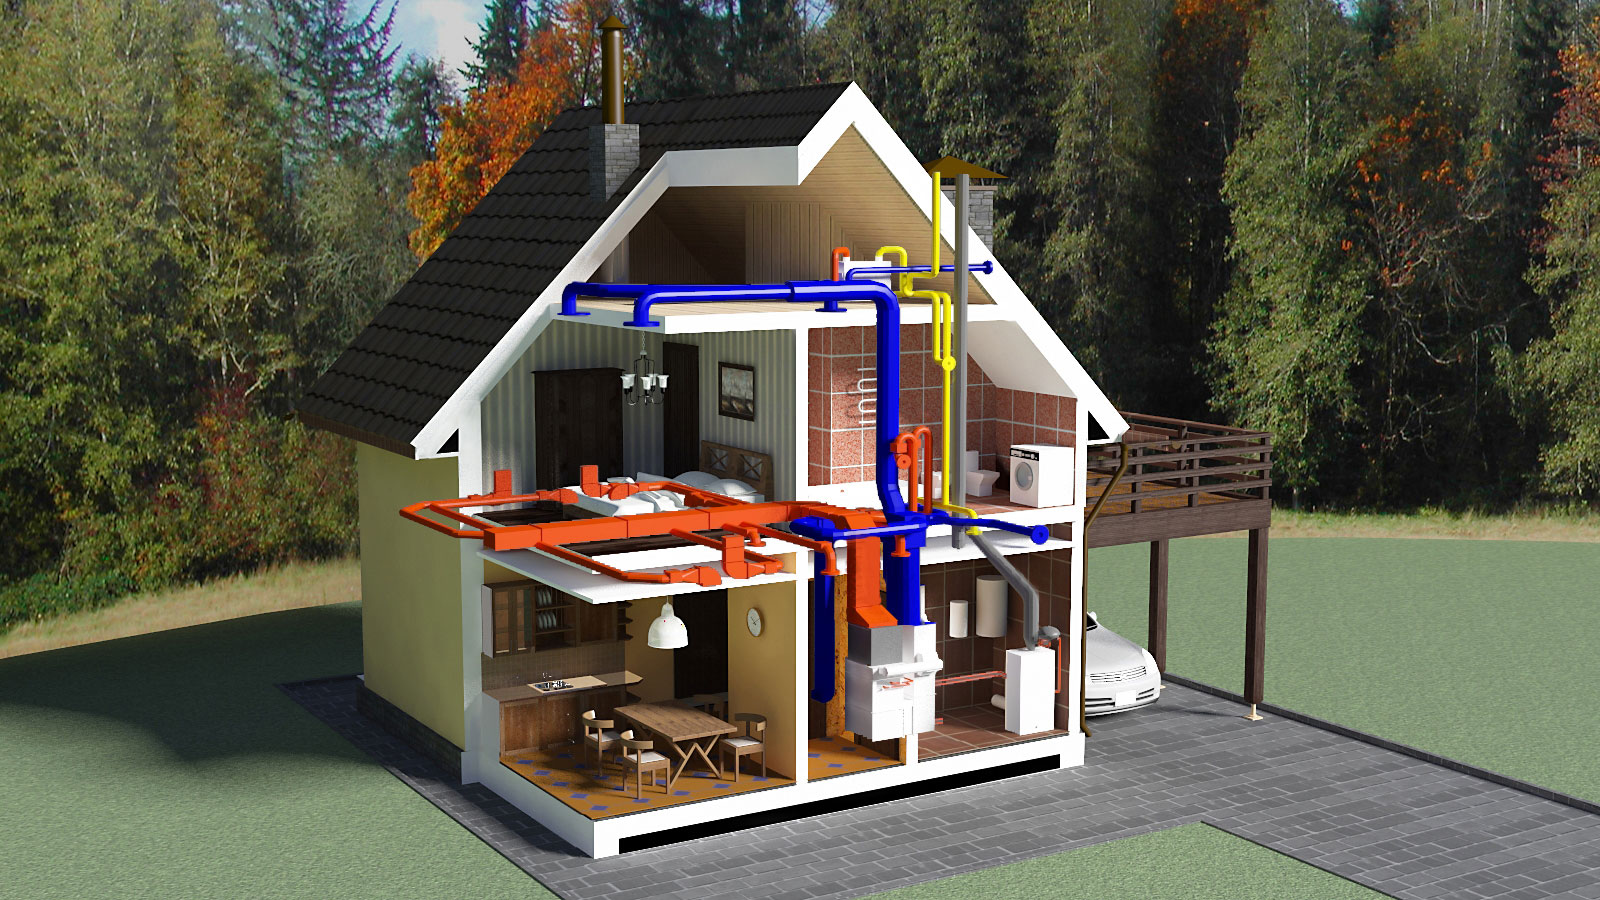
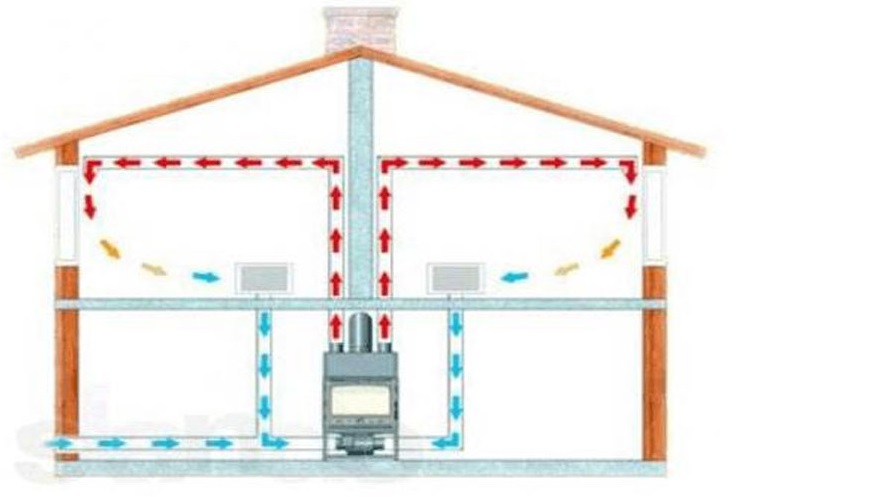
Nobody argues that it is great to have your own "house in the country". However, with the onset of cold weather, the problem of heating such a house arises sharply. Since, as a rule, in rural areas there is no centralized heating, similar to that in urban apartment buildings, it is necessary to solve the issue of installing a brick stove for water heating. Its device is not so complicated, but the heat energy received is very cheap, and the stove itself has a high efficiency - about 80-85%, so heating the house twice a day is enough. Heated heating radiators slowly release the accumulated heat - over a period of several hours. At this time, the stove may not be heated, but it will still be warm in the house, even if it is very cold outside. A small heating water boiler is able to provide heat for a fairly large area of housing (for small houses, just a stove is enough). The heating of the boiler itself is achieved by the hot smoke from the stove.
Required tool
- a pickaxe for breaking bricks into small components necessary when laying out the parts of the furnace;
- the building level necessary to control the evenness of the masonry;
- a large grating shovel for mixing masonry mortar;
- a steel trowel-trowel for covering the furnace with clay or cement and leveling this mixture over the surface, as well as sealing joints between bricks;
- a wooden ruler to check the evenness of the corners of the oven.
Masonry order
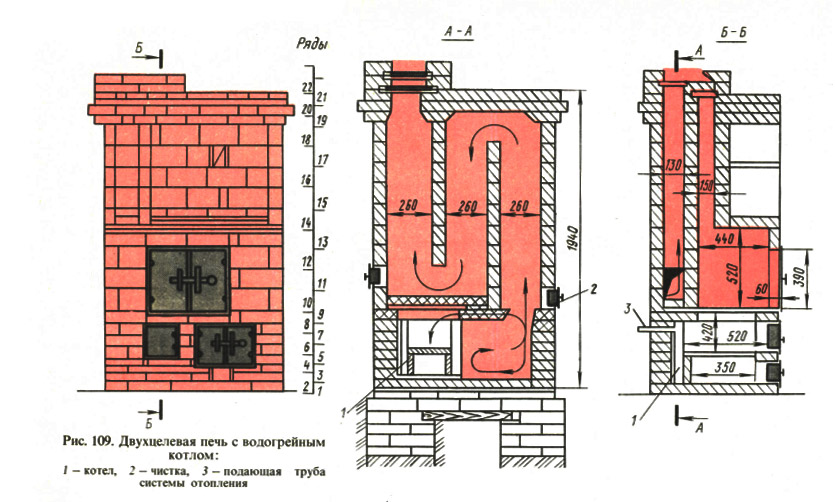
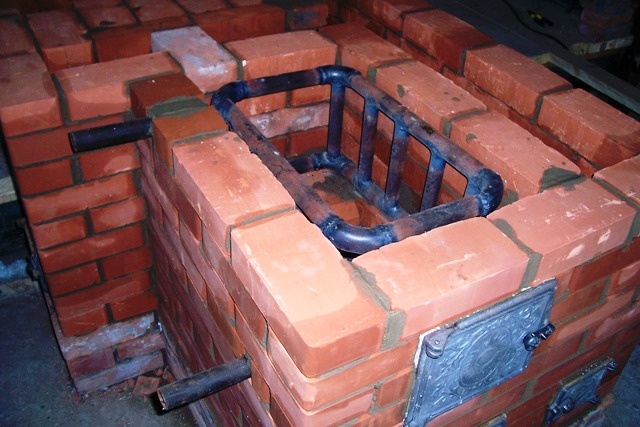
The lowest row of bricks is laid out by the method of continuous well masonry, while on one side a couple of bricks are cut off, thus forming a slope towards the lower part of the firebox. The next row of bricks is interspersed with longitudinal bridges (bandages), and a blower is mounted on the third row. The fourth row should also contain a hole in the oven wall for further cleaning. In the same place, from a piece of brick, a kind of support is installed under a cast-iron or steel set for a furnace in the form of a grate to support solid fuel in the furnace (grate).
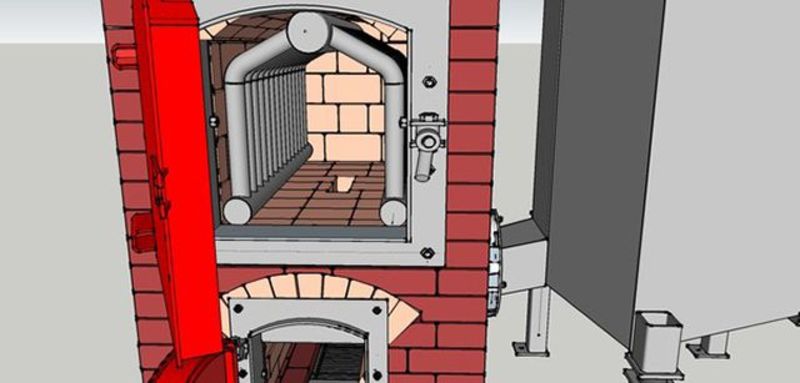
The ash from the burnt fuel will pour out through the cracks of the grate, therefore, holes and doors for cleaning are provided on the next row of brickwork. A heating water boiler is also mounted at the same level, its top should reach the outlet of the pipe for supplying hot water. This installation scheme prevents the ingress and stagnation of air in the furnace heating system. On the next row, jumpers are again needed at the joints of the bricks, and the door for the firebox is immediately installed. The 7th row is laid in the usual way, but the next one is laid out so that the chimneys are completely covered with bricks. The next 3-4 rows are laid with longitudinal bridges.
Rows 13 and 14 are the ceiling of the heating chamber, therefore they are made of fire-resistant material. Rows 15 to 17 complete the heating chamber equipment. On the 17th row, several more holes are made with doors for cleaning. The next row ends with the horizontal surface of the oven. From the 20th row, a chimney begins to appear, which is built in order with horizontal bridges at the joints and ends on the 30th row. The upper wall of the furnace, overlapping the flue gas duct, is made on the 38th row of masonry, a smoke damper is also installed there.
It is very important to lay out the chimney correctly - this is a difficult and very crucial stage. It is necessary to ensure that the internal walls of the house (especially the wooden one) are at least half a meter away from the chimney, this is dictated by fire safety measures.
Experts recommend laying out a chimney made of refractory bricks with a cross-section in the form of a square with a side length of about 40 cm, the inner square is a hole with a side size of half a regular brick. Outside the roof of the building, it is possible to use a conventional pipe, which will speed up and reduce the cost of equipping a water heating furnace. One of the modern options is ceramic pipes made of refractory clay-kaolin (chamotte). They are reliably protected from the ignition of unburned fuel particles and temperature differences, they serve for a very long time and have high corrosion resistance. Their shell is made of concrete or stainless steel, which makes the structure of the entire furnace very reliable.
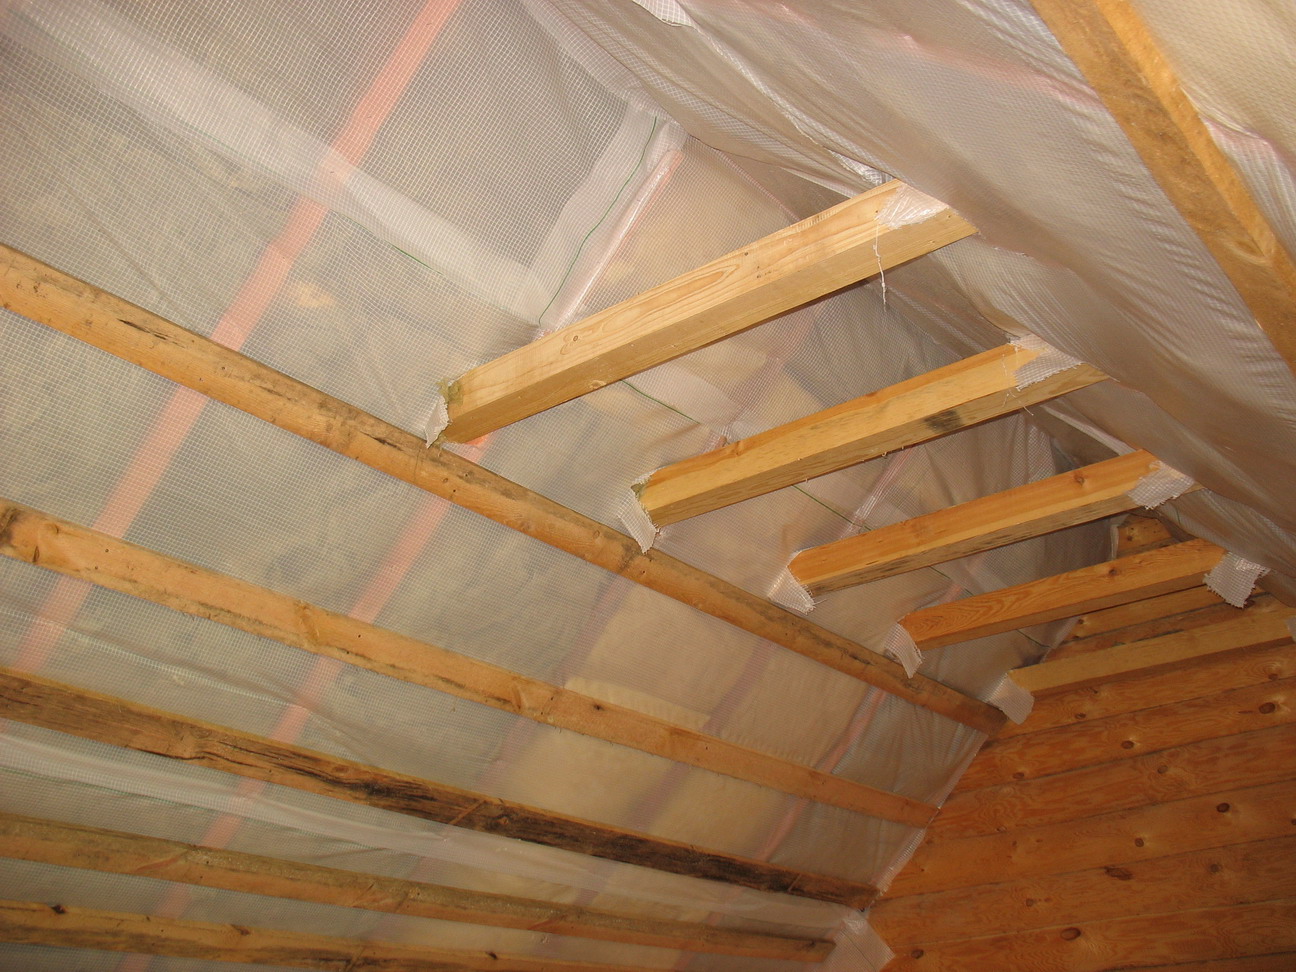
To protect against spontaneous fires, it is imperative to cover with materials containing asbestos, all surfaces where the chimney goes to the roof.
Important points and tips
- the alternation of rows of masonry should be strictly observed;
- the joints of the bricks must be strictly horizontal and even;
- during laying, each subsequent row of bricks must be shifted 25% of the distance from the previous one;
- all doors and cleaning grids are mounted directly during the laying of the next row of bricks;
- metal elements are additionally reinforced with metal pins, the ends of which are embedded in the oven masonry;
- it is advisable to dry each finished several rows of masonry within 1-2 days.
Subject to these recommendations, strict adherence to technology and the use of quality materials, you can provide your home with warmth and comfort for many years.