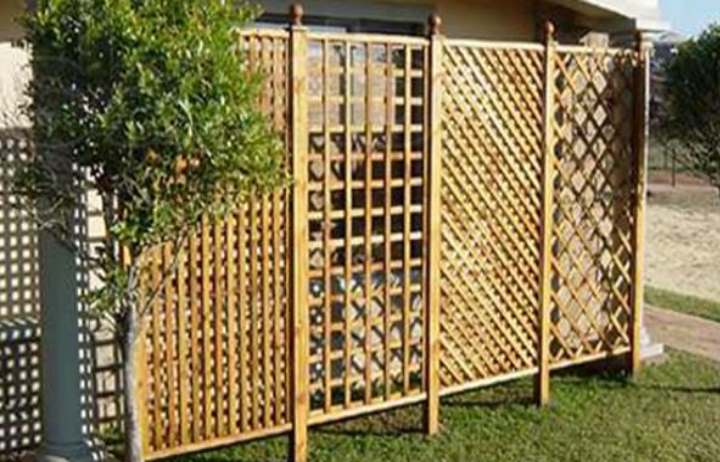
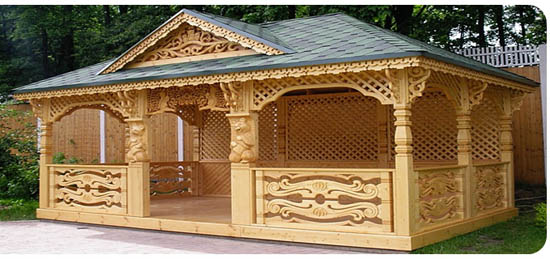
The lattice on the walls or open openings of the gazebo is made of wood or a metal rod. The work is done carefully to give the building a finished look, shade the interior space and improve the appearance. The wooden crate for the gazebo creates a sense of privacy, closes from prying eyes, but retains the impression of being in nature. Fabric barriers are not a complete replacement, as they impede the flow of air.
Necessary materials and tools for work
Metal is used less often, since it makes the structure heavier, the gazebo looks cumbersome. Specially treated wood is durable and creates a feeling of lightness. Wood species have different properties, differ in quality and color.
The main varieties of wood for the veranda lathing:
- Oak. The high strength material is treated with a stain to give a beautiful shade. Requires work experience as it is difficult to process.
- Larch. Not less durable than oak, but softer, easier to saw and grind. Moisture resistant wood.
- Beech. The pinkish material is easily processed, but requires external finishing, since it accumulates moisture inside and collapses over time.
- Conifers. Pine, spruce contains resinous substances that repel water. The wood has a pleasant aroma.
- Ash. The breed is of medium density, heavy and durable. It is easy to process, but deteriorates from moisture.
- White alder. Freshly cut material quickly acquires a yellow tint, obtains a beautiful uniform color up to orange color.
The decorative lathing is made and installed by hand, no mechanisms are required. Marking and cutting requires a pencil, tape measure, saw, square and chisel. Connect the slats with self-tapping screws, nails or use a glue joint. In the process of work, they are covered with antiseptics, varnishes, paints or stain.
Lattice making and attachment to the gazebo
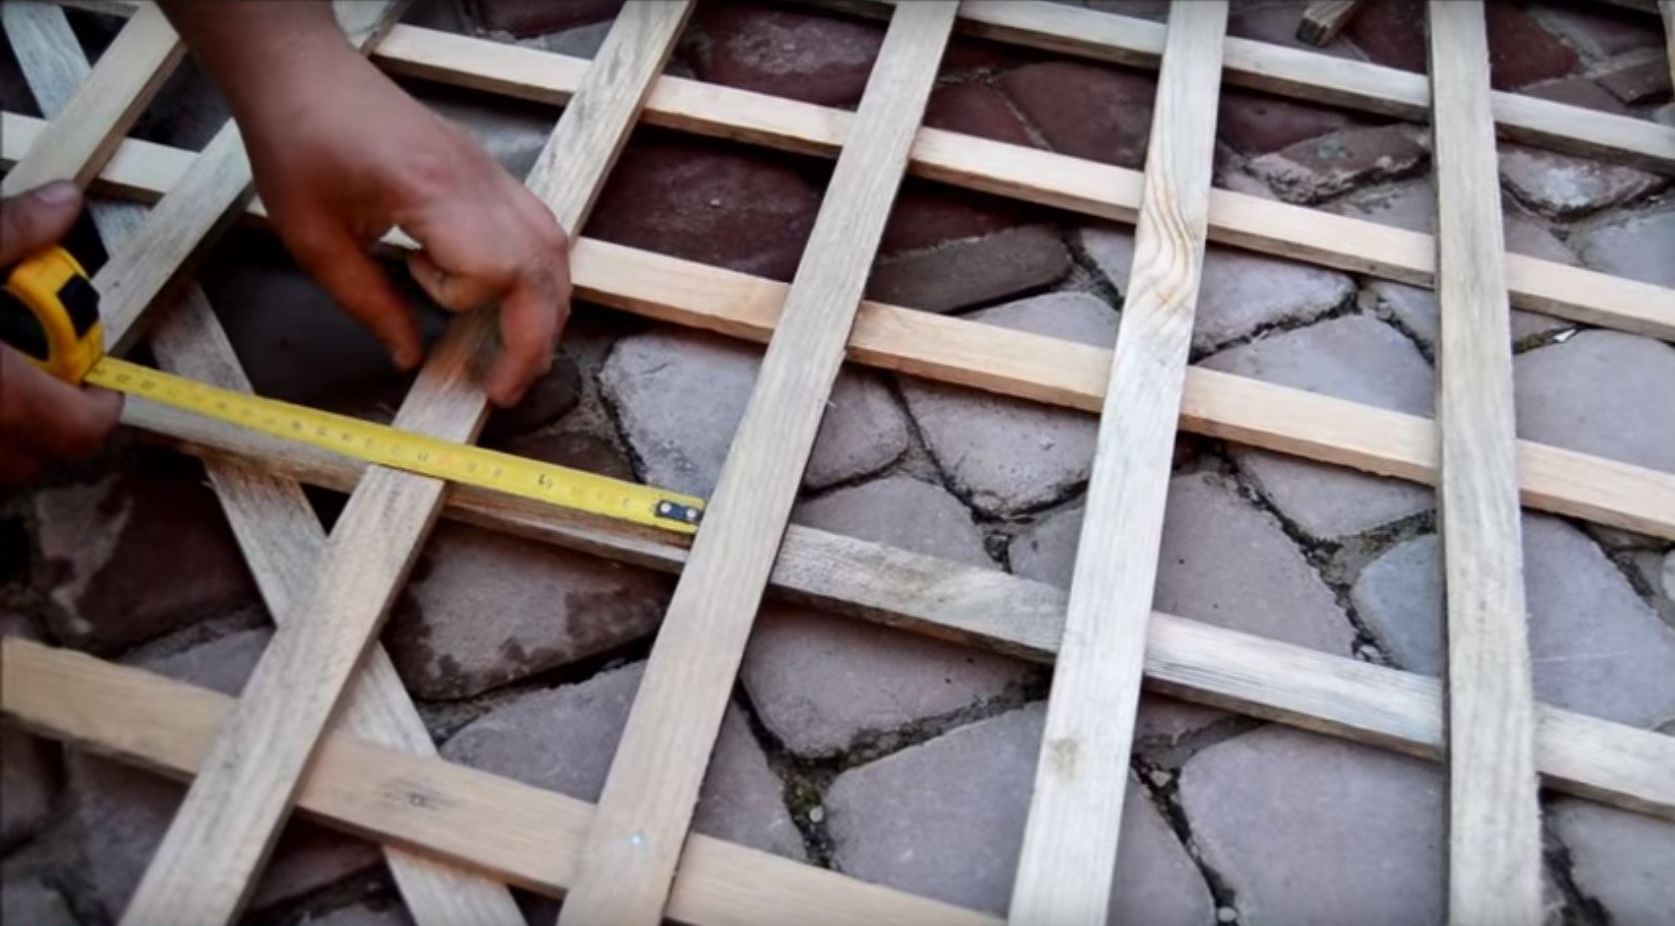
Work begins with measuring the openings in which the lattice is placed. The decoration is used on all surfaces of the building instead of walls, roofs, or only squares of windows are filled. The dimensions are transferred to paper and a schematic drawing is made. According to the sketch, the length of the thin bars and their number are calculated.
Defined with a grid pattern, which can be:
- with square or rectangular cells;
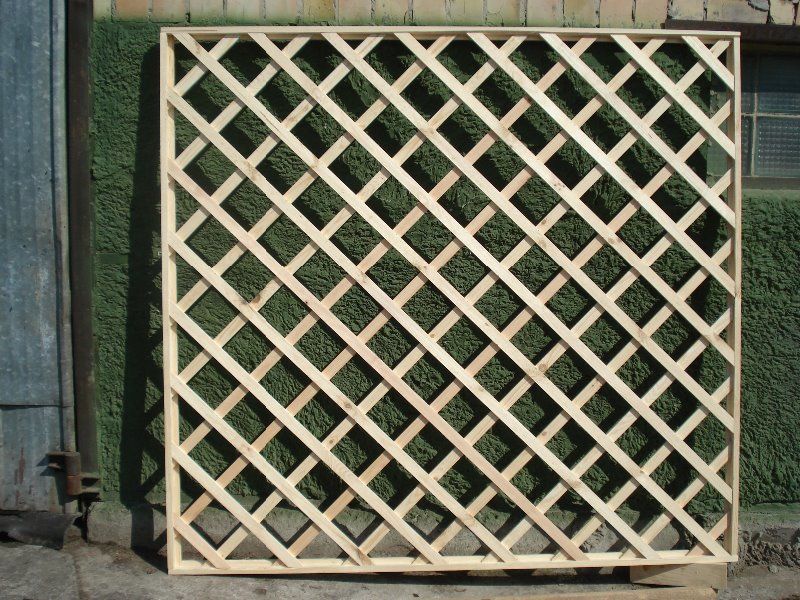
- with sections in the form of rhombuses, if the slats are placed diagonally;
- with chaotically located links of various shapes and sizes.
First, the frame of the future mesh is made. Before starting work, lumber is treated with impregnations, and the joints are coated with carpentry glue. The right angles of the cells are checked with a square. The joints are fixed with self-tapping screws or a dowel. The last element is a fastener in the form of a thin cylinder with rounded ends.
Pre-drilled holes of a smaller diameter before screwing the screws so that the rail does not crack when installing the hardware. The second mounting option is the angular arrangement of the ends of the bars. With the help of a miter box, the ends are cut off at 45 °, connected with a square, and controlled. The joints are treated with glue, fastened with nails.
Attach to the gazebo with nails, wood screws. If the base is made of bricks, dowels are used.They are fixed to the metal frame with self-tapping screws for metal (with fine thread).
Option for installing rails in the gazebo window
The grids are placed directly in the opening at an angle of 45 °. Pre-measure each strip and cut it exactly to the installation length so that there is no overrun. The slats are placed in the window opening so that all mesh cells are at the same slope, and their dimensions correspond to the adjacent links.
Step-by-step installation instructions:
- prepare templates in the form of strips of equal length for ease of marking;
- the slats are covered with an antiseptic, wait for drying according to the time specified in the instructions;
- the first strip is attached to the window frame, keeping the angle along the protractor, several such elements are recruited along the width of the opening;
- they are nailed to the frame;
- the top layer of the battens is attached over the first level, the slats are interconnected;
- in even openings, the ends of the slats are not covered with anything, and decorative glazing beads, plinths or finishing profiles are attached to the openings with protrusions or depressions on the frame;
- the assembled product is varnished with compounds for outdoor use.
The ends of all strips are immediately cut at 45 °, after attaching the first strip, the rest are marked using an auxiliary template.
The nails are chosen so that the tips of the hardware do not protrude on the opposite surface of the window frame. If this happens, nippers are used and the place is treated with linseed oil so that the point does not become a focus of rot development.
Groove-to-groove lattice option
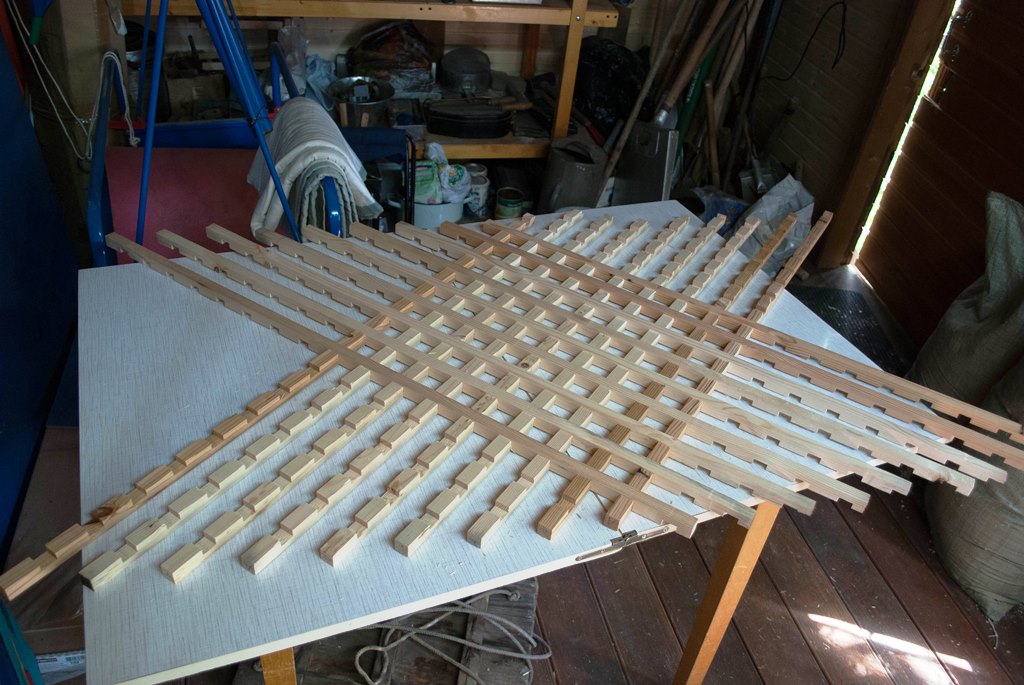
The method belongs to professional techniques, requires the use of a hand-held milling tool or the use of a circular saw. Basic skills will be needed when marking the grooves on the slats in order to select the body of the planks at the joint and insert the planks halfway into one another. The strips do not overlap, but are recessed, thanks to the special processing of lumber.
With this connection, the strips are in the same plane and represent an integral structure. If you make the lathing on the gazebo by connecting a groove to a groove, the strength of the product will increase, the lattice will more resist wind gusts.
Work order:
- bait the first bar, apply the second and mark the junction on two strips;
- remove the slats and process the marked places with a milling cutter or saw;
- the following strips mark and cut out the joints;
- glue the crossing areas with glue;
- install the slats in the frame, additionally fix them with small nails;
- the grille is placed in the mounting position;
- open with stain (if necessary) and varnished.
The grille, joined by groove in groove, has a neat and sophisticated look. Such products are placed in one layer and do not produce second frames. The slats are made from a board 50 mm thick and 100 - 120 mm wide, which is dismissed on a sawmill. The material is taken dry, or dried in the shade.
For drying, the slats are laid out under a canopy and evenly pressed down with a load.
Manufacturing and installation
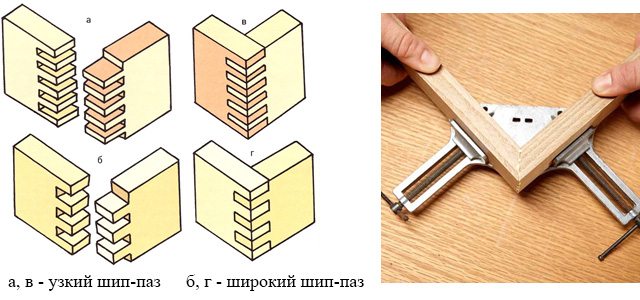
The frame in the frame of the gazebo is fixed by the method:
- slotting grooves;
- using thorns;
- using hardware;
- using an additional rail.
The most reliable is the use of thorns, but it takes time and carpentry skills. It is better to cut grooves on a sawmill in order to maintain the required accuracy. Manual sampling is not always accurate enough. If mistakes are made when sampling wood in the grooves and the connection is loose, nails are additionally placed. They cut off the cap (bite off) so as not to spoil the look of the product.
The planks are fixed in the frame, the ends are cut off with a hacksaw so that they do not enter. If the ends are located in closed openings, folds are not needed. The overhead lattice is made of two nets, while different halves are nailed vertically and horizontally.
A lattice with rectangular sections is easier to manufacture than diagonal cells, but the latter option looks more profitable. Each cut is processed with sandpaper so as only to level the surface, but not to reduce the size of the part.
Other options for decorative lathing
Craftsmen make original veranda lathing from slats with their own hands, in which the cells are made of different sizes and types. The work is very painstaking and time-consuming. You cannot use templates, each section is developed individually. Carved patterned lattices with or without standard slats are a work of art. White paint will emphasize the grace of the openwork knitting.
Glass can be inserted into the rectangular links of the lattice; sometimes colored fillings are used. It is difficult to glaze diagonal cells, but you can, if you try and spend time. The lattice of any kind is complemented by climbing plants that create a cozy atmosphere. The vegetation on the roof of the gazebo is especially appreciated, when the covering is also made in the form of a lattice.


