Plasterboard sheets are widely used in the arrangement of various premises. Using this material, you can install interior partitions, equip a niche or an arch, sheathe the walls and ceilings of residential or office rooms so that the surfaces are suitable for further painting, wallpapering, etc. An important role in this is played by the lathing on which the drywall sheets are attached ...
Purpose of the lathing
The lathing, otherwise the frame is a structure, without which a high-quality installation of drywall sheets is almost impossible. At the same time, the use of the frame cladding methodology makes it possible to significantly simplify the installation, speed up the time of work, etc.
A crate is assembled from wooden bars or a special metal profile. When choosing a material for a frame, it is necessary to take into account its characteristics and features of the premises:
- The wooden frame is suitable for rooms with normal humidity. High humidity will lead to deformation of individual elements of the frame, which will lead to damage to the drywall.
- Metal lathing for drywall is somewhat more expensive than wooden structures, but it perfectly resists moisture, is versatile and has a long service life.
Install the crate on a perfectly smooth surface. If there are irregularities in the places where its elements adhere to the walls, they must be eliminated.
Frame made of wood

Having made the decision to make a wooden lathing, you need to prepare the necessary materials and tools.
The timber frame will require coniferous wood bars. Their section should be at least 5x5 cm, and the length depends on the size of the walls and / or ceiling. Otherwise, the assembled structure will not have sufficient strength. In addition, the prepared bars are recommended to be treated with antibacterial and antiseptic solutions, and then dried thoroughly.
When starting work on arranging a lathing of wooden bars, you need to have at hand:
- a hacksaw for wood;
- dowel screws 6x60 mm., screws for wood or nails;
- screwdriver or screwdriver;
- construction level;
- drill;
- a hammer;
- plumb line;
- puncher;
- pencil.
In addition to tools, you will need metal corners with which the wooden parts will be connected to each other.
Frame installation
The crate is assembled as follows:
- Lines are drawn along the ceiling and on the floor along which the strapping bars will be installed.
- Along the perimeter of the entire wall, using dowel screws, frame strapping bars are attached. At the same time, the quality of this connection is of great importance, which determines the reliability of the entire installed structure.
- Vertical racks are attached between the strapping bars with metal corners and self-tapping screws (nails). In this case, the installation step of vertically installed bars should be 0.5 m. The vertical racks are installed in such a way that the edges of the drywall sheets are attached to them.
- The resulting frame is strengthened with transverse (horizontal) bars, which are attached to the existing bars with metal corners and self-tapping screws (nails).
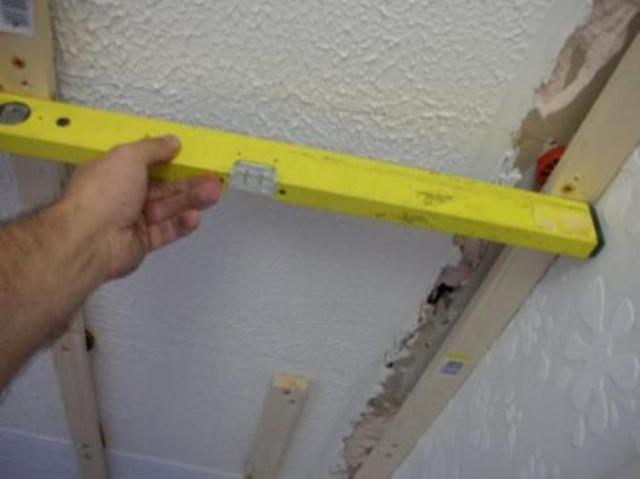
All elements of the lathing should lie in the same plane and make up a perfectly flat surface. Control this using a plumb line and level.
If in the future it is planned to hang any objects on the wall, it is recommended to strengthen the mounted frame with additional transverse bars.
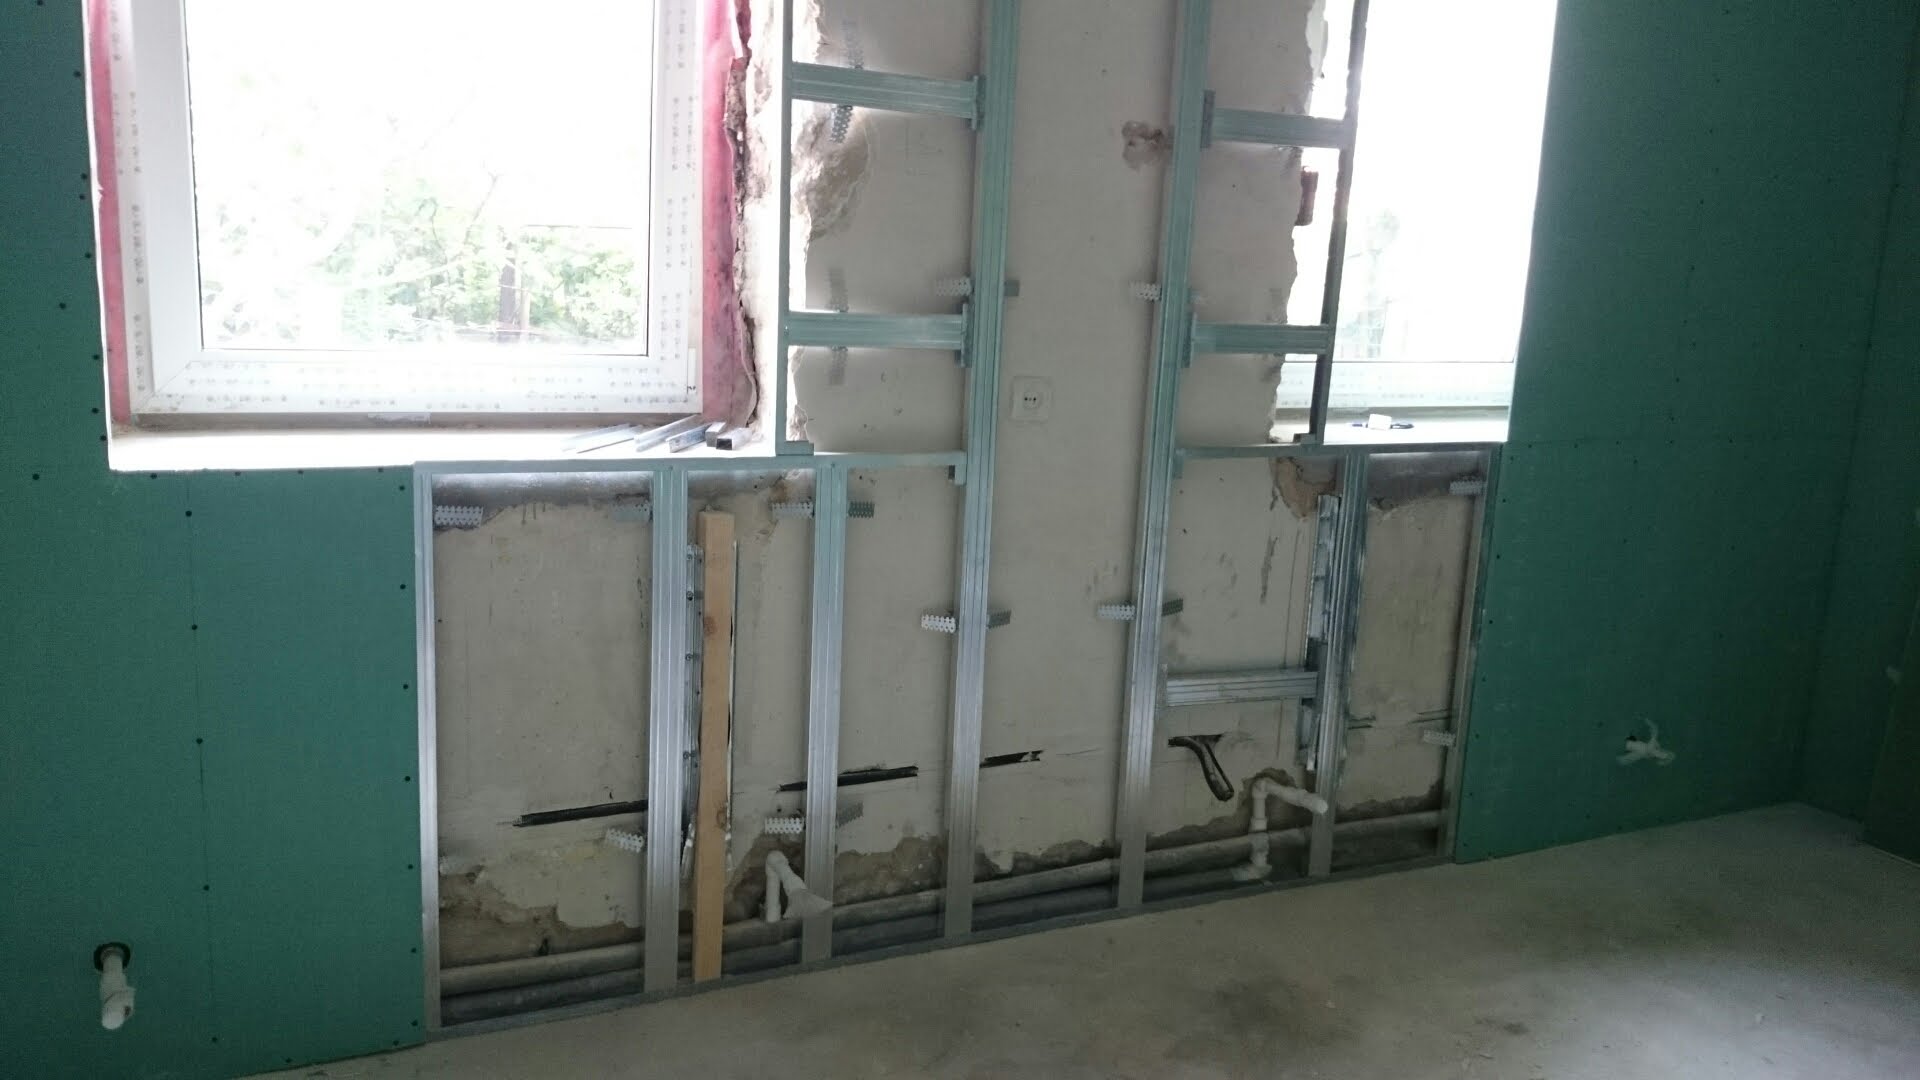
Metal profile frame
The metal profile is produced by the industry specifically for the installation of the lathing intended for wall cladding with gypsum plasterboard sheets. Its use greatly facilitates the assembly of the frame and the installation of drywall on it.
Materials and tools
The set of profiles that will be required for the installation of the lathing includes:
- guides for wall cladding (PN) or installation of a suspended ceiling (PPN);
- rack profile (PS) and straight hangers for their fastening (EC);
- ceiling profile (PP) and anchor ceiling suspensions;
- simple and cruciform ("crabs") extensions for metal profiles;
In addition, you will need:
- dowel-nails or dowel-screws 6x60 mm in size;
- small self-tapping screws "bugs";
- screwdriver or screwdriver;
- puncher;
- scissors for metal;
- cutter;
- building level (long).
The order of work
Installation of a profile sheathing on a wall for drywall requires a number of the following steps:
- preparation of the premises;
- marking work;
- trimming profiles to the required size;
- installation of guides;
- installation of suspensions;
- installation of rack profiles.
Having freed the room from interfering objects and protecting the walls and floor from possible damage, they begin to mark the walls and ceiling under the crate. To do this, at a distance of 5-10 cm from the wall, using a level, draw a straight line on the ceiling, along which a guide profile will be installed in the future. Then this line must be transferred to the floor.
The lines on the ceiling and floor must be strictly parallel to each other.
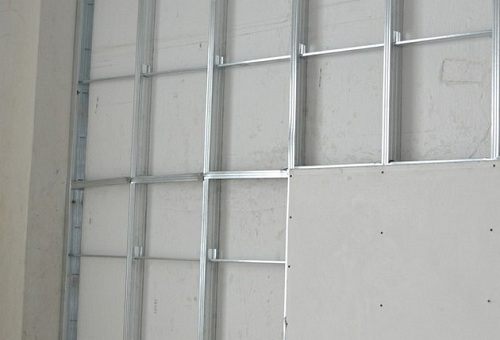
The guides are fixed to the ceiling and floor using dowel screws or dowel nails, the step between which should not exceed 60 cm. Rack profiles are installed between the guides, fixing them with lower and upper hangers. The optimal distance between the hangers and, accordingly, the rack profiles is 1 m.
The horizontal elements of the metal profile are attached to the racks with small self-tapping screws (bugs) for metal. At the same time, professionals prefer to use a cutter for these purposes, which provides the highest quality fixation. The metal profile is cut to size using metal scissors.
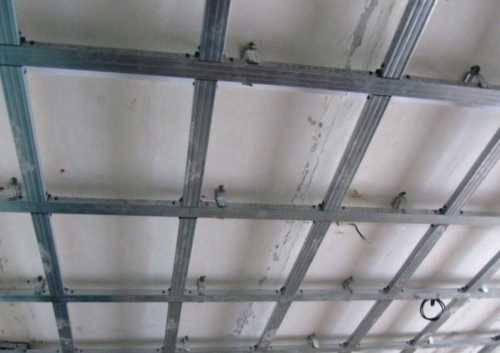
Plasterboard profile lathing is mounted on the ceiling in almost the same way as the process of installing the frame on the walls. In this case, the distance between the vertical fasteners should be about 0.6 m.
Sheathing and puttying
Sheathing the sheathing with sheets of drywall is not difficult, however, when placing each sheet vertically, you need to strive to ensure that their edge falls exactly in the middle of the profile (bar). The sheets are screwed to the frame elements with special screws, and they must be fixed to all elements of the lathing, and the distance between the attachment points should not be more than 20 mm. It is best to screw in the screws with a screwdriver. Wherein:
- the depth of immersion of the screw head in drywall should not exceed 1-2 mm;
- the attachment points should be at least 1-3 cm away from the sheet edge.
In order not to miss the vertical posts, it is recommended to partially screw in the screw under the ceiling and fix the plumb line on it. Then all the screws are screwed along the body kit thread.
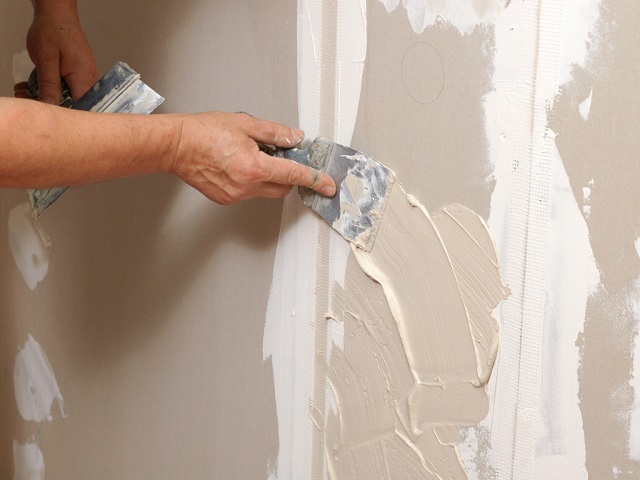
The process of sheathing the frame with plasterboard sheets is completed by the finishing of the surfaces. In this case, it is first necessary to seal up the places of deepening of the fasteners and the seams between adjacent sheets with gypsum putty. In order to further exclude the appearance of cracks, it is recommended:
- To embroider seams with rectangular edges, chamfering 2/3 of their depth with a sharp knife. In this case, the putty will penetrate to the maximum depth and reliably bind the edges of adjacent sheets together.
- Fasten adjacent edges only to a common profile for them. If the upper edge of the sheet does not reach the profile (bar) of the strapping, horizontal jumpers are installed between the vertical posts made of the same material as the entire frame.
- Reinforce the seams with fiberglass mesh or bandage the seams sealed with putty with paper tape.
After the putty has dried, a thin layer of putty (base) should be applied to the entire surface of the wall and allowed to dry for 24 hours. Apply a finishing layer of putty on the dried layer.
If the surface is to be painted, it is recommended to apply a third coat of putty.
After all layers of the putty are dry, the surface is brought to perfect condition with fine sandpaper and primed. Further, the wall can be painted or pasted over with wallpaper.


